


Having a contact us page at your WordPress site has been a must nowadays. Most WordPress users are struggling to find the best form plugin that looks like Typeform because people love to fill forms. Surveys and contact forms will make your customers feel convenient while browsing your site pages.
In this article, we will show you how to create contact forms and surveys for your WordPress site.
Step 1: Picking the right WordPress Plugin:
There are hundreds of free and paid WordPress plugins that can build contact forms at your site but which one should you pick?
Before answering this question, let me tell you a fact:
“A form without an interactive design wouldn’t convert, wouldn’t get you leads, clicks or traffic.
One of the best contact form plugins for WordPress is Quill Forms. It can enhance lead generations and motivates people to complete the form with its nice UI.
The reasons for choosing Quill Forms:
1- It is the best Typeform alternative for WordPress. Typeform is famous for building conversational forms but its free version is limited and it isn’t built for WordPress.
2- The easiest form builder for WordPress with its amazing drag and drop feature.
3- Admin has the ability to change all colors, fonts and customize the styles for free.
Step 2: Installing the right contact form plugin
That’s a very straightforward step. All you should do is to login to your WordPress dashboard and then click “plugins” then “Add new” . The following page should be opened.

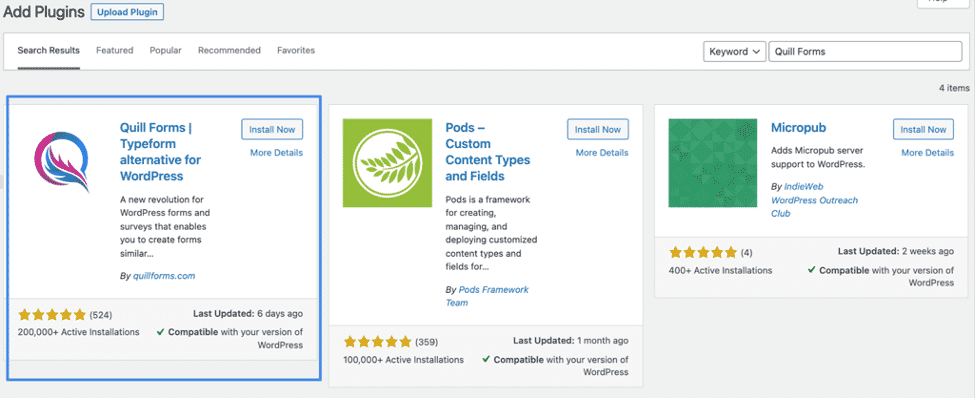
Type “Quill Forms” in the search bar and just click install now for the first result.
After installing Quill Forms, you should activate it and here you go for the third step.
Step 3: Create your first contact form
After installing Quill Forms, you can easily start creating your first form. Just click on “Quill Forms” on your dashboard then “All Forms” then you will be redirected to this page:

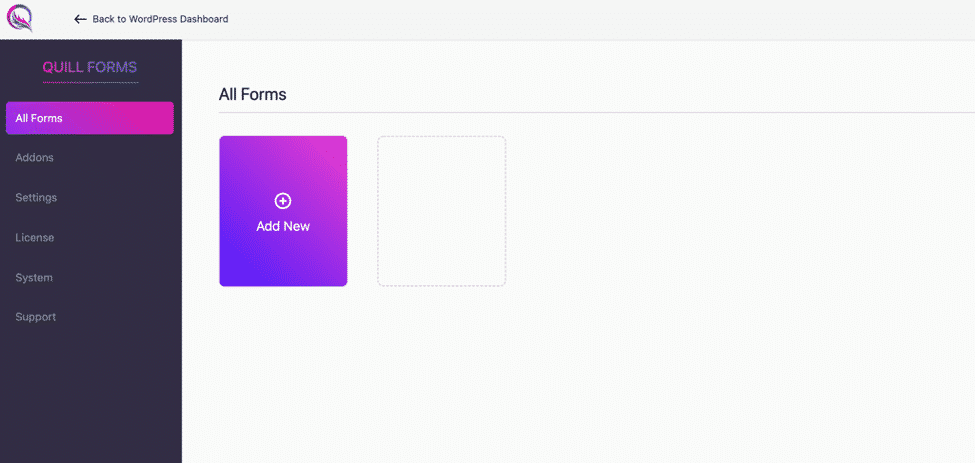
Click on “Add New” then type the title of your form and click “create”.
You will be now redirected to the form builder:

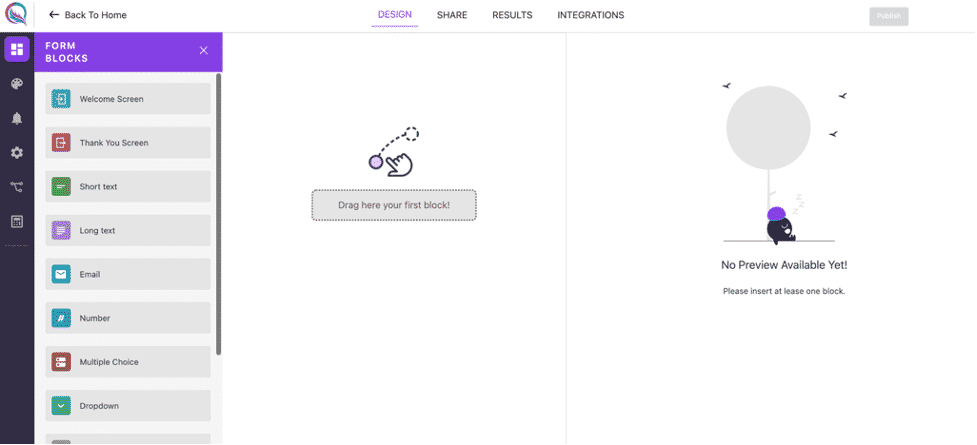
Start with dragging and drop the form blocks from the left to right side where it says “Drop here your first block” and click “publish” and congrats, you have built your first form!
Step 4: Customize the style for your form
You will love this step and it is unique that you can find a contact form plugin where you can customize styles for it for free. You should click first on the themes icon on the left small black bar then click “Add New”. Now, you will have this view:

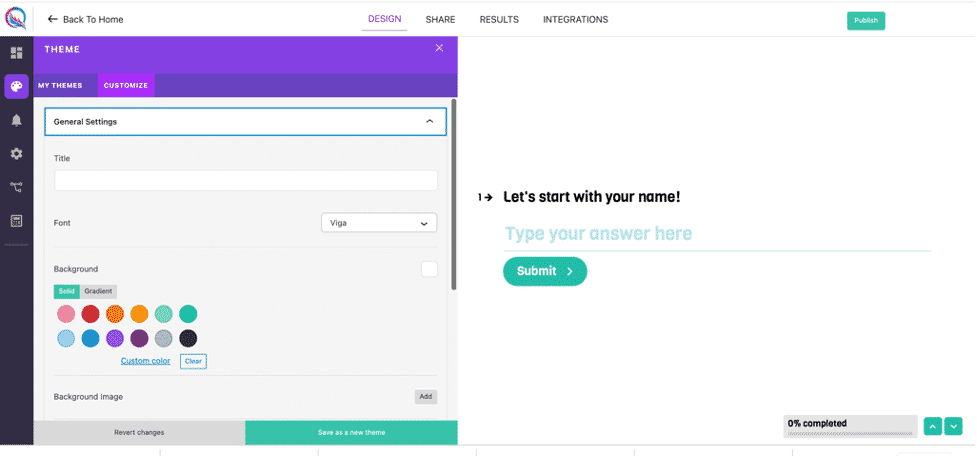
You can easily then change the fonts, colors and backgrounds then click “Save as a new theme” and you did it
Step 5: Set up email notifications for your form
So to get email notifications after form submission, you should first click on the notifications icon on the small black bar. It should be the third one the click “Add new notifications” and you should have this view:

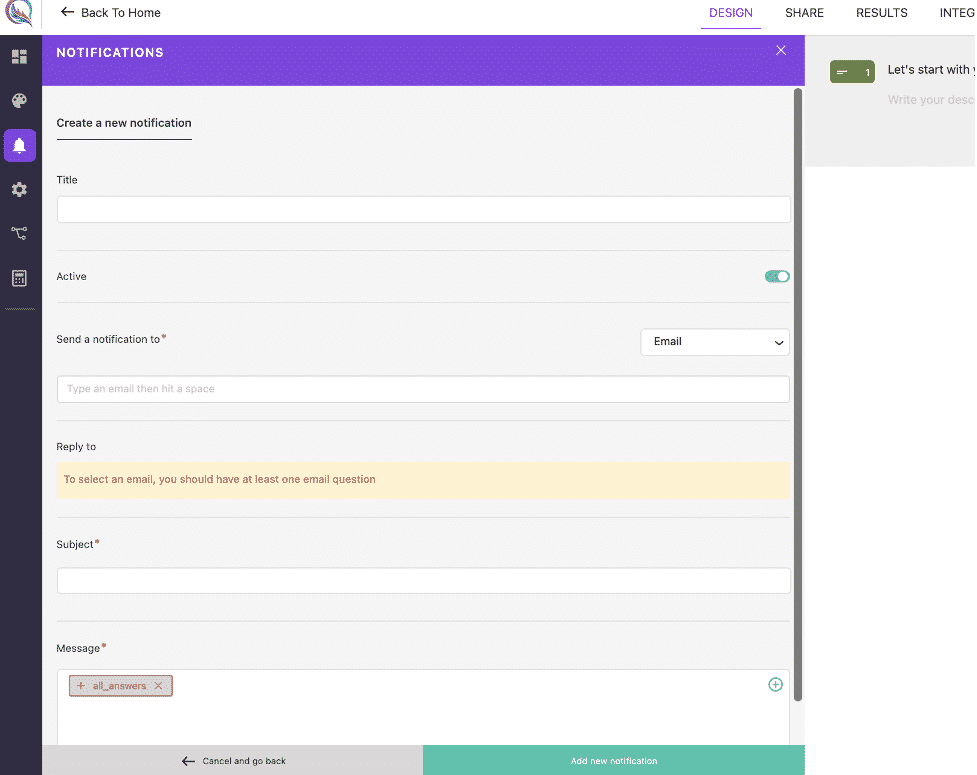
Fill the email subject and recipients to which you would like to send the emails and the email message and click “Add new notification”. That is it!
Step 6: Publish your changes and get the iframe code
Last step is to publish your changes by clicking on the “publish” button on the top right.
To use your form, you can click “share” on the top:

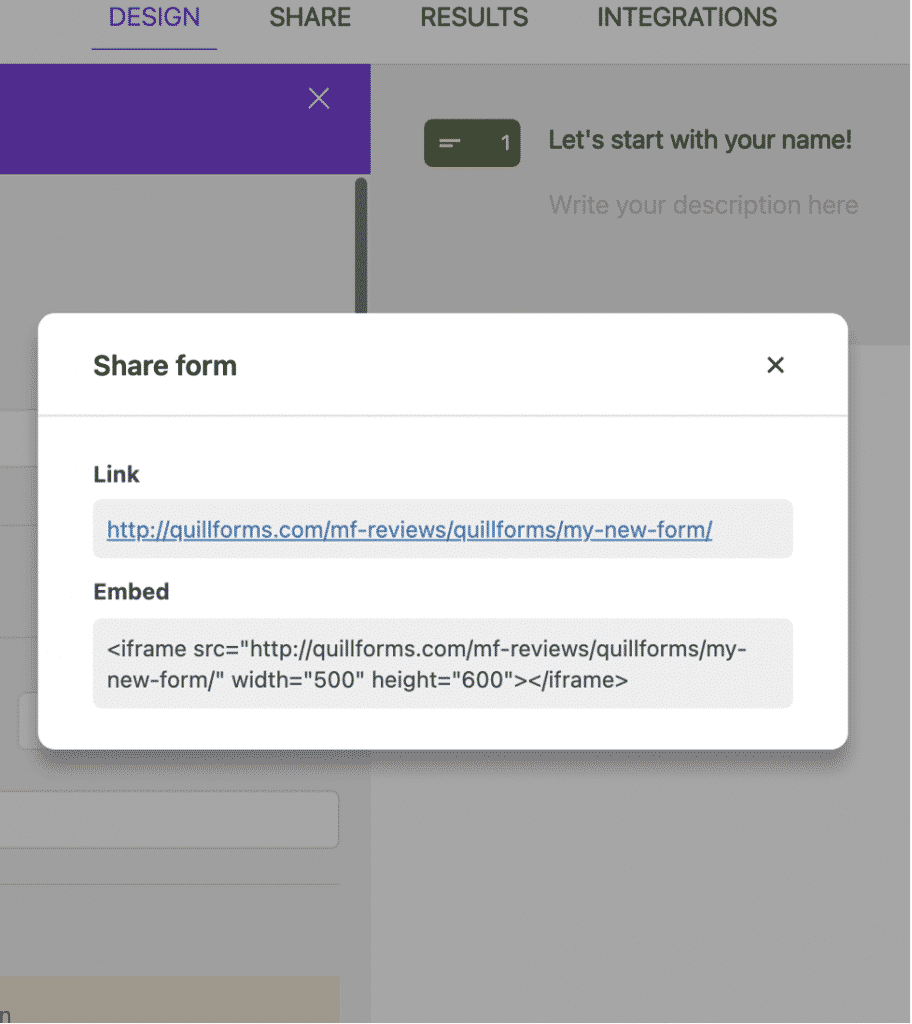
Copy the Embed code and insert it in your WordPress page and you did it!
Conclusion
In this tutorial, we covered how to create a contact form for your WordPress site and we picked “Quill Forms” as it is the best WordPress form plugin and if you go through the tutorial, you will find how it is easy to use it to build your forms and surveys.