


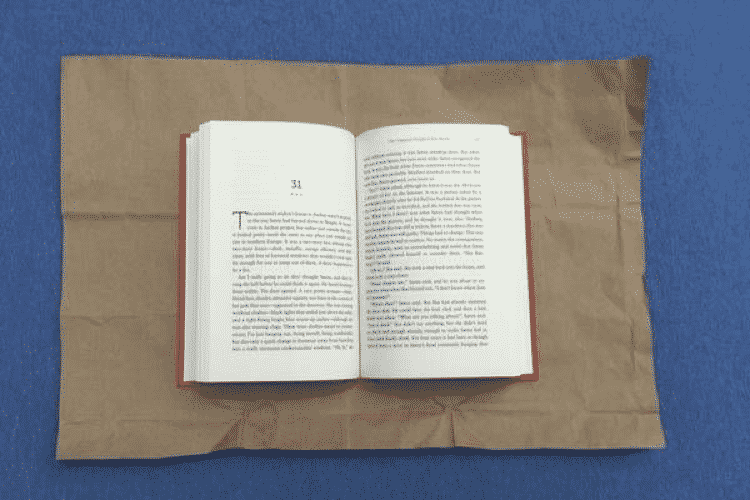
Nowadays, people pay much attention to protecting the environment. So for doing many things, people begin to consider recycling the materials that have been used once or twice for DIY them into another usage. For example, students may try to protect their textbooks’ covers by using paper. Today, this review will share with you a way to cover a textbook with a paper bag. In this way, you can save the bag for use again instead of throwing it away immediately. Now, see how to do it.
Materials for Making Paper Bag Cover
For preparing to make the textbook cover with a paper bag, you should prepare these materials in advance because they are required during the DIY process:
- The paper bag
- Your book
- Scissor
- (Optional) Glue
- (Optional) Stickers
Steps to Make Paper Bag A Textbook Cover
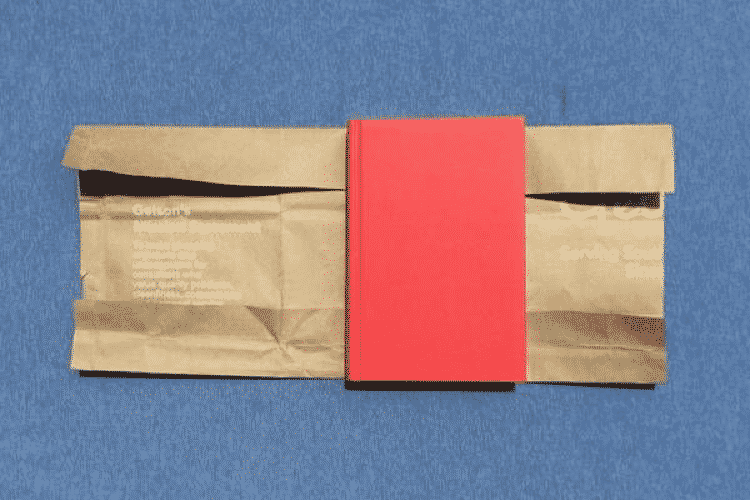
Step 1. Bring the paper bag and unfold it with the scissor. The size of the paper bag’s width is better to be at least twice times as large as the width of your book. For the height, it requires to be around 7cm taller than your book as well. So make sure you don’t choose the paper bag that is too small to cover your book.
Step 2. When the paper bag is unfolded, put the book to the center of the paper bag for making sure whether it can fully cover your book.

Step 3. Now you should fold the top and bottom of the paper bag for making the size of it to fit the height of your book.
Step 4. Put the book to the center of the paper bag again. Then you need to wrap the paper to fully covering your book. For the two sides where the paper exceeds the book, you should fold both sides around the front and back covers of the book. Then the paper bag cover for your book is completed!

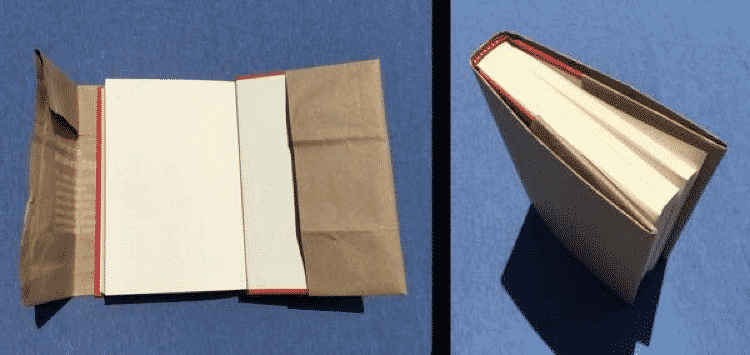
You can use a little bit of glue to stick the paper bag for making sure that it won’t unfold again. Also, to make the paper bag cover to be more colorful or pretty, you can use some cute stickers to decorate it. It is also recommended to use those colorful paper bags for making the covers for your textbooks, which will look more beautiful!
Tip: Convert Physical Textbooks to Electronic Books
Today, many people, especially youngsters, are more likely to use electronic products to study and lead their daily lives. For example, they would like to use an iPad for reading textbooks and directly take notes on the iPad. So that they just need to bring an iPad no matter where they go and when they want to read the textbooks. This is convenient for students because they don’t need to bring heavy physical books everywhere they go. But how to convert the physical textbooks into electronic ones for storing portable devices? You only need to follow 3 steps.
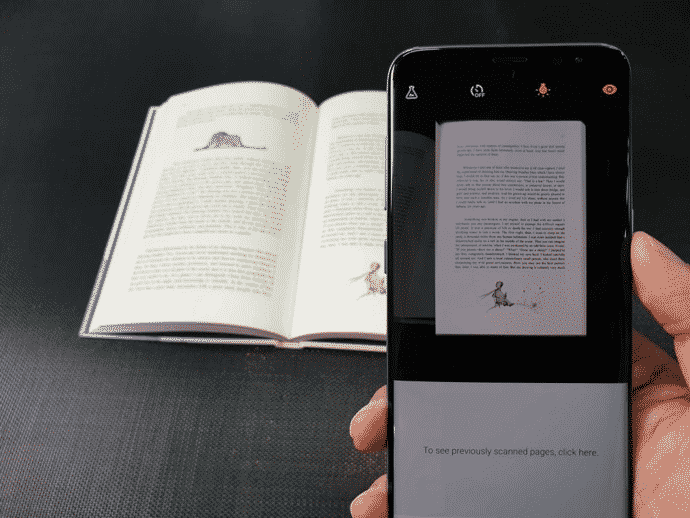
Step 1. Firstly, you should take your textbook and then use a scanner or just your photo to scan the pages of the textbook for saving them in images that are of JPG or PNG format.

Step 2. When you get the images of all the pages of the textbook, convert them to your computer. Because images always occupy very large size, so you can use some online tools or software to compress the images for making their sizes to be smaller for storing, so that you can save more space for your device.


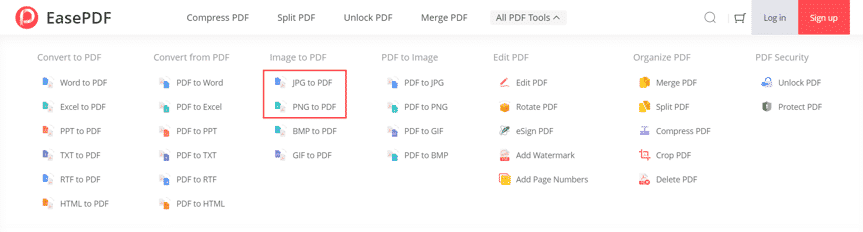
Step 3. After all the images are prepared well, go to an online JPG to PDF Converter or PNG to PDF Converter for converting all the images into a single PDF file. Then you can get the electronic textbook which is in PDF format without wasting any expense!

Alternative: You can also convert the images into PDF books first and then compress the whole PDF book using the Compress PDF tool.
In Conclusion
Now you get two methods to preserve your books. One is to save the paper bag for use as the cover of your physical book, while the other is to convert the physical book to electronic reading material for storing on your devices. Are these two tips helpful to you?