


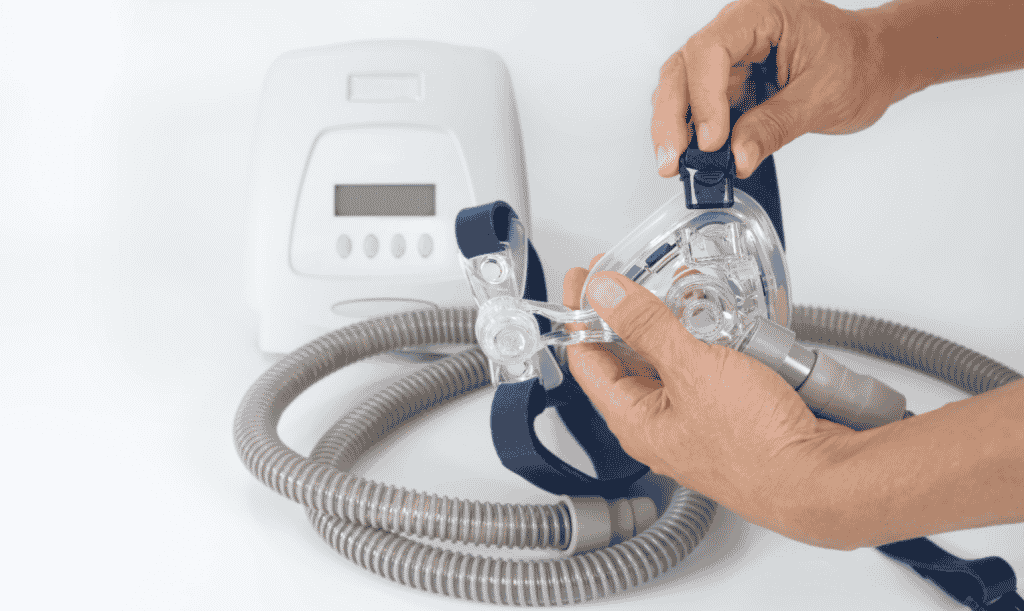
If you’re a CPAP user, then you know the importance of keeping your machine clean. A dirty machine can lead to all sorts of health problems, so it’s crucial that you clean it regularly. In this blog, we will discuss how to properly clean your CPAP machine. We will go over the steps that you need to take in order to get your machine sparkling clean!
1. Unplug your machine.
The first thing you need to do is unplug it from the wall, and remove the power cord from the back of the machine. Try not to touch any electrical components with your bare hands. It is a good idea to wear gloves when cleaning a CPAP machine, just to minimize any risk of electric shock or damage to internal parts. Also try not to let water drip through the hole in the middle of the machine – this is where all of your tubing goes into – because if water gets down there, it will start corroding everything inside!
2. Remove all filters.
Next up, most CPAP machines have what are called ‘filters’. You’ll want to remove these as well before you clean the machine. These filters are typically located within or along the sides of your CPAP machine, and they can be removed by simply sliding them out. Be sure to look for any clips that might be holding the filter in place – you don’t want to break these!
3. Rinse all parts with warm water.
Now it’s time to rinse off all of those removable parts that we took out a minute ago. Fill up a clean bowl with warm – not hot – water, and drop everything back into the bowl. If there’s any dirt on your machine, the water will become dark pretty quickly – this is a good indicator that your components are well and truly rinsed! If you find that there is still dirt on something after you’ve rinsed it, then try soaking the component in water again for a little bit longer. Just be careful not to get any of that dirty water near your mouth or eyes!
4. Wipe dry all parts.
Now that CPAP cleaning has properly done, go ahead and take it all out of the bowl and start wiping off any excess moisture from the surface of every piece. Use clean tissues or cloths to do this – never use a rag, because sometimes dirt can still get trapped in there!
5. Reassemble your machine.
Once you’re done drying all of your components, simply reinsert them back into their proper places on your CPAP machine. For example, put the filter(s) back in where they were originally; make sure the tubing is plugged back in as well. Also, if you have any kind of humidifier or water chamber, make sure to reinsert those as well – then just plug your power cord or batteries back into the machine and turn it on! And that’s all there is to it – now your CPAP machine should be sparkling clean and ready for use.
As a side note, it’s a good idea to give your machine a good cleaning about once a week – this will help prevent dust from accumulating inside of it! You can also feel free to throw any removable parts (like filters) into the dishwasher every now and again for an even deeper clean!
If you have any questions regarding how to properly clean your machine, feel free to drop us a line here at CleanCPAP. We’re always more than happy to help!