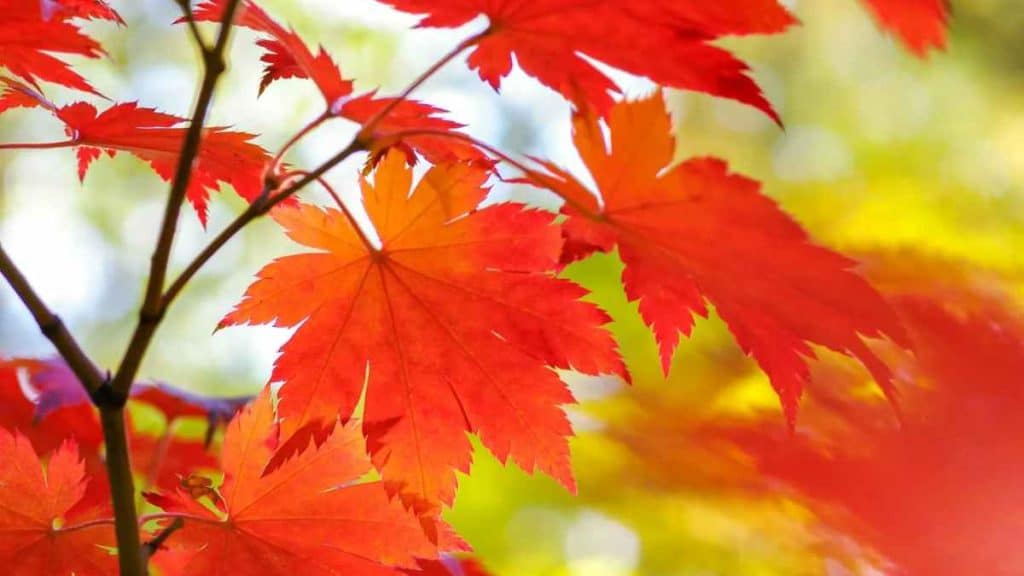
If you want to give your photos a solid dream-like feeling when it comes to your autumn portraiture then you have come to the right place. This guide will show you how you could make the most out of your photographs, so you can start taking better snaps today.
Boosting Colour
If you want to boost the colour of your images then the first thing you need to do is adjust the temperature. Open the RAW file in your Adobe editor and then drag the temperature to around 6500. The great thing about doing this is that it will give your portrait a much warmer feel. You then need to press O as you drag the slider as this will help you to notice any clipped areas of the image. This will show as a red blotch. Take a look at the recovery slider and move this to around 39 as this is the best way for you to restore some of the lost detail. When you feel as though you are happy, you can open the image and then move it into the standard editor that you use with Photoshop. If you’re happy with the image, you can then put it in a photo book maker.

Change the Hues
You want to work in a way that is non-destructive here. If you want to get a good result then make sure that you need to click on the new layer icon. When you have done this, go to hue and saturation. There’s a chance that you can enhance the autumnal leaves that are in your portrait. If you want to do this then edit the field and then go to the yellows. You can then change the hue to around -20. When you feel happy with it, then click on the layer to target it. Set the black brush to around 30% opacity and then drag it to cover the subject which will make the leaves stand out and the subject blend in.
Focus on Midtones
It’s a good idea for you to add another adjustment layer if you can. Drag the grey mid-tone input and then pull it to the side so it is around 1:30. You may then notice some of the finer details brighten a bit on your subject’s face. You do want to stop the leaves you were just playing around with from being changed though. One way for you to work around this would be for you to use a black brush.
Boost Contrast
Next, you need to try and boost the contrast. Click on more and then click on flatten image. If you can do this then you will soon see the background thumbnail appear along with a new dialogue. If you then click on Gaussian blur and then set the radius to around 15 then you will be able to get the result you are looking for, so be mindful of that if you can as it is a great way for you to get the look you are going for.
