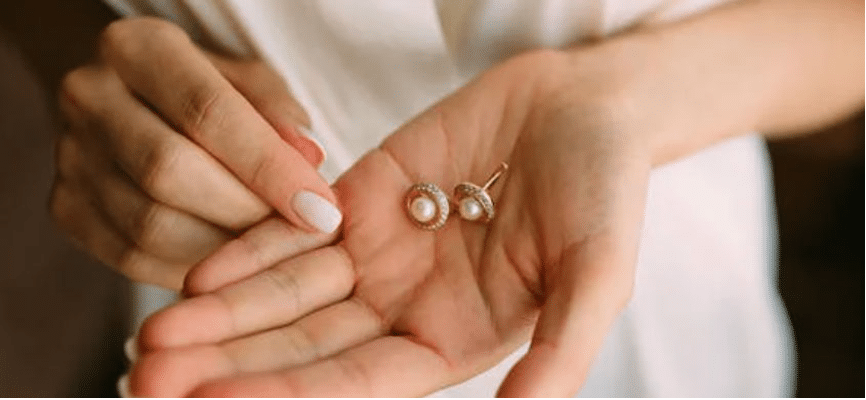
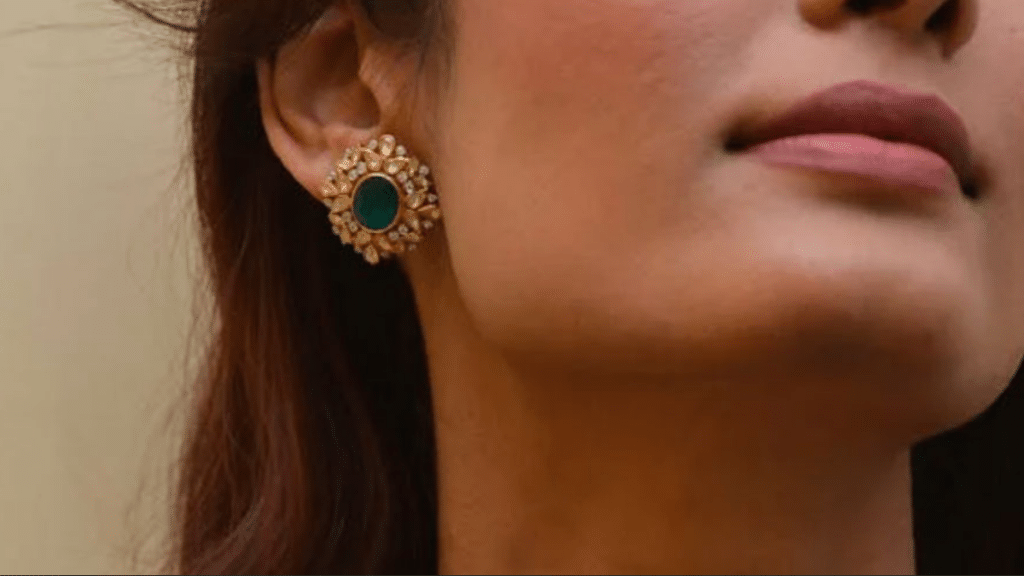
Are you tired of scouring jewelry stores for the perfect pair of stud earrings, only to come up empty-handed? Do you crave unique accessories that reflect your personal style? If so, you’re not alone. Many individuals struggle to find earrings that speak to their individuality and preferences. This article is the ultimate solution for you to craft stunning stud earrings from scratch. In this this comprehensive guide, we will walk you through the process step by step, empowering you to design and create beautiful stud earrings that are uniquely yours. Let’s get started!
Material Needed for Stud Earrings Making
It is an easy but delightful process to create your own stud earrings. Before that, let’s gather the essential materials required first.
- Earring Posts: These serve as the foundation of your stud earrings, available in various lengths and styles.
- Earring Backs: Essential for securing the earrings in place, choose from butterfly backs, bullet backs, or push backs.
- Decorative Elements: Beads, gemstones, pearls, or other embellishments add flair to your creations.
- Adhesive: Opt for jewelry glue or epoxy resin to affix the decorative elements securely.
- Tools: Tweezers, pliers, wire cutters, and a flat surface for working are indispensable.
How to Make Stud Earrings?
Creating your own stud earring proves to be a fulfilling pursuit, empowering you to imbue each piece with your distinct style. After gathering all the materials, it is time to create stunning earrings by following these simple steps.
1. Prepare Your Workspace
Lay out all your materials and tools in a clean and organized manner. Make sure you have enough space to work comfortably.
2. Design Your Earrings
Decide on the style and design of your earrings. You can choose to keep them simple with just a single bead or get creative with multiple elements and intricate designs.
3. Attach the Earring Posts
Carefully apply the jewelry adhesive to the earring flatback. You can operate it on a paper towel to avoid splitting the glue on your table. Then add the earring decorative elements on the earring flatback, and press it onto the glue on the earring flatback.
4. Let Them Dry
Allow the adhesive to dry completely before handling the earrings further. This may take anywhere from a few minutes to several hours, depending on the type of adhesive used.
5. Secure the Earring Back
Once the adhesive has dried, attach the earring backs to the posts. Make sure they are firmly in place to prevent the earrings from coming loose while wearing them.
6. Check and Wear
Check your earrings for any loose components or imperfections. Make any necessary adjustments to ensure they are secure and well-crafted. Once your earrings are finished and inspected, they’re ready to wear! Show off your unique creations with pride and enjoy the compliments you’ll undoubtedly receive.

By following these steps and letting your creativity shine, you can make beautiful stud earrings that reflect your personal style and flair.
Conclusion
It is a creative process to make your own stud earrings. By following the simple steps outlined above, you can create stunning pieces of jewelry that truly reflect your individuality and style. From gathering the materials to designing and assembling the earrings, each step allows you to infuse your personality into the final product. So why settle for common-style earrings when you can create unique accessories that are as distinctive as you are? Start making your own stud earrings today and enjoy the satisfaction of wearing something truly one-of-a-kind!
