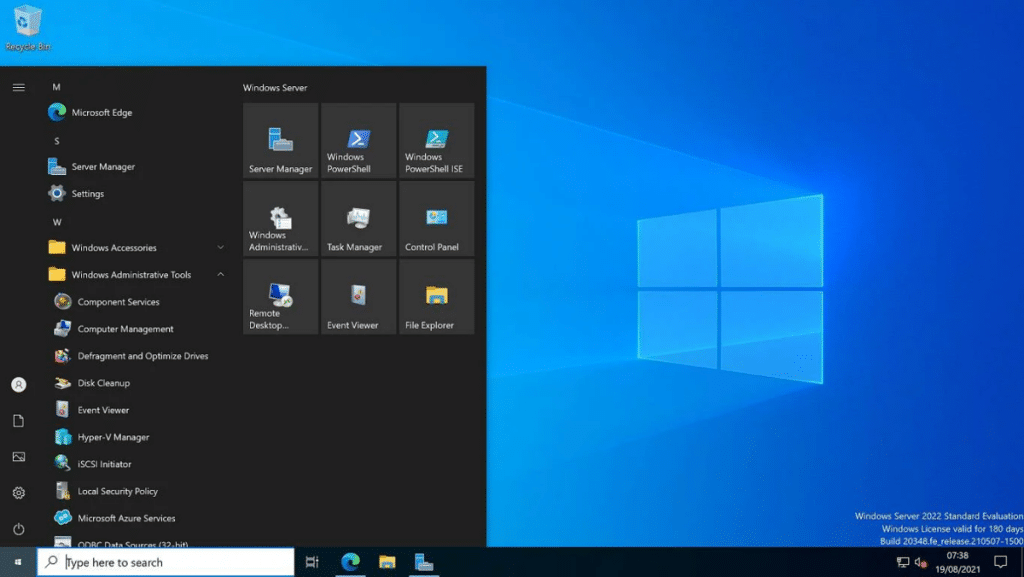
Windows Server 2022 Standard is a powerful server operating system from Microsoft, offering numerous enhancements in security, performance, and management compared to previous versions. However, to fully utilize all of its capabilities, it is necessary to activate the system using a genuine product key. In this article, we will provide you with several useful tips to make the activation process of Windows Server 2022 as smooth and straightforward as possible.
Preparation
1. Obtaining a Genuine Windows Server 2022 Standard Product Key
First and foremost, you need to purchase a Windows Server 2022 Standard key from a reputable reseller. This ensures that you can fully utilize all the capabilities of the software. Avoid the temptation to save money by buying keys from questionable sellers or unverified websites. Such keys often turn out to be non-functional or blocked, which can lead to activation issues and affect the functionality of your server. Typically, when purchasing a genuine product key from an official reseller, you will also receive a link to download the ISO image of the Windows Server 2022 installation files. This significantly simplifies the installation process and eliminates the need to search for the distribution yourself.
2. Creating a Bootable USB Drive with Installation Files
After receiving the ISO file link with the Windows Server 2022 distribution, navigate to it and download the image to your computer. Ensure that the download is successful and the file is not corrupted. Next, take a clean USB drive with a minimum capacity of 8 GB and format it to the FAT32 file system. This can be done using standard Windows tools:
- Open File Explorer and find your USB drive in the list of disks.
- Right-click on it and select the “Format” option.
- In the appearing window, choose the FAT32 file system, enter the volume label (e.g., “WinServer2022”), and click “Start”.
Once the formatting is complete, copy the contents of the downloaded ISO file to the prepared USB drive. Ensure all files are successfully copied, and the drive is ready for use.
Installing Windows Server 2022
1. Booting the Server from the Installation USB Drive
Connect the USB drive with the installation files to the server on which you want to install Windows Server 2022, and power on the server. Ideally, the server should automatically detect the bootable USB drive and start the installation process. However, if this does not happen and the server boots into the already-installed OS or shows the “No bootable device” error, you will need to enter the BIOS and manually change the boot order. The process of entering the BIOS may vary slightly for servers from different manufacturers, but for Intel-based servers, it is usually done as follows:
- Restart the server and press the F2 key when the startup screen appears to enter the BIOS.
- Using the arrow keys on the keyboard, navigate to the Boot Maintenance Manager section.
- Select the Change Boot Order option and press Enter.
- In the list that appears, find your bootable USB drive and move it to the top using the “+” and “-” keys.
- Press F10 to save the changes and agree to reboot the server.
If done correctly, the server will reboot and begin installing Windows Server 2022 from your USB drive.
2. Proceeding Through the Installation Wizard
After booting from the USB, the Windows Server 2022 installation wizard will start. On the first screen, select the language, time format, and currency, then click “Next”. Then click the “Install” button to begin the process. Follow the on-screen instructions to configure the basic installation parameters:
- Choose the “Windows Server 2022 Standard (Desktop Experience)” option from the list of available editions.
- Configure disk partitions according to your needs.
- Set basic parameters such as network settings, computer name, administrator password, etc.
The rest of the installation will be fully automatic. After completion, the server will reboot and prompt you to set an administrator password. Log in to the server using the administrator account and perform the initial setup.
Activating Windows Server 2022

1. Launching Command Prompt as Administrator
After completing the installation and initial setup of Windows Server 2022, you can proceed with activating the system. To do this, launch the command prompt with administrator privileges:
- Press the Win + R key combination to open the “Run” window.
- Type “cmd” and press Ctrl + Shift + Enter to launch the command prompt as administrator.
- Confirm the UAC prompt if prompted.
The command prompt window with administrator privileges will open.
2. Entering the Activation Command with the Product Key
Copy your Windows Server 2022 Standard product key from the email received upon purchase or from the product key card. Then enter the following command in the command prompt, replacing XXXXX-XXXXX-XXXXX-XXXXX-XXXXX with your key:
Dism/online/Set-Edition: ServerStandard/AcceptEula/ProductKey: XXXXX-XXXXX-XXXXX-XXXXX-XXXXX
Press Enter and wait for the activation process to complete. Depending on the server’s performance and internet speed, this may take from several seconds to several minutes. If activation is successful, you will see a corresponding message in the command prompt window. If activation fails, double-check the correctness of the entered key and retry. Also, ensure that your server has internet access and can connect to Microsoft’s activation servers.
Conclusion
Utilizing a genuine product key is not just a formality, but a crucial step toward the stable and secure operation of your server.
So, if you want to maximize the performance of your server and avoid legal issues, activating a genuine key is a mandatory requirement. I wish you a successful activation!
