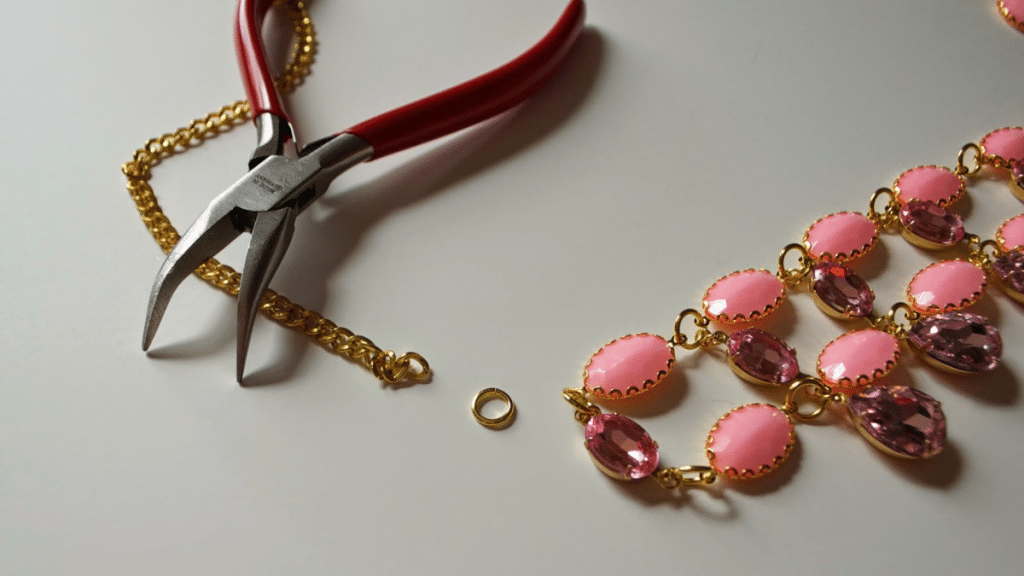
Let’s be honest—there’s something incredibly satisfying about a piece of jewellery that sparkles just right. Now imagine being able to say, “Thanks, I made it myself.” That’s the magic of DIY statement jewellery with high-quality crystals.
Whether you’re crafting your first bold necklace or looking to take your designs to the next level, this guide walks you through everything you need to know to bling it yourself—without it looking like a school project gone rogue.
Why Statement Jewellery?
Statement jewellery is all about making an impact. Think oversized earrings, chunky necklaces, dramatic rings, and bold cuffs—pieces that turn heads and start conversations.
The best part? When you make it yourself, you can tailor every detail to your personal style. Love rose gold? Go wild. Obsessed with emerald green crystals? Add them everywhere. DIY lets you create one-of-a-kind pieces that are so you.
Choosing the Right Crystals for Maximum Wow Factor
When it comes to statement jewellery, the crystals you use can make or break the look. You want stones that catch the light, hold their colour, and look polished—not plasticky.
Here are a few go-to brands to consider:
- Swarovski – The OG in sparkle. Ideal for premium projects with a luxury finish.
- Preciosa – Great value and European-made, with a wide colour and shape selection.
- Serinity – A newer option with serious sparkle, often more accessible than Swarovski.
- Aurora Crystals – Perfect for bold, vibrant colours and special coatings.
- Estella – Budget-friendly but still sparkly enough for fun pieces.
Pro tip: Mixing crystal brands can help balance cost and sparkle—use high-end crystals in the centre and more affordable ones on the sides or back. Buy these brands from www.bluestreakcrystals.com.
What You’ll Need to Get Started
You don’t need a fully stocked studio to begin. Here’s a basic list of tools and materials for crystal statement jewellery:
- Crystals (of course!)
- Jewellery findings (earring hooks, clasps, jump rings, etc.)
- Wire or strong jewellery thread
- Chain (if you’re making necklaces or bracelets)
- Jewellery pliers (round-nose, flat-nose, and cutters)
- Glue for flat-back crystals (e.g. E6000 or Gem-Tac)
- Bead mat or tray to keep things from rolling everywhere
Optional but fun:
- Bead caps, charms, or metal spacers to add more dimension
Design Tips for Bold, Balanced Bling
Want your jewellery to be big and bold without going overboard? Here’s how to keep it stylish:
- Stick to one focal point: If you’re going big with a crystal pendant, let that shine and keep the rest of the piece more minimal.
- Play with colour: Monochrome looks chic, but mixing complementary colours (like sapphire and topaz) can be stunning.
- Think about shape and scale: Layer round stones with baguettes or navettes for visual interest.
- Add texture: Use metal components, chains, or textile elements to break up all that bling and add depth.
Techniques to Try (Even If You’re a Beginner)
Here are a few beginner-friendly methods to make professional-looking statement pieces:
- Wire wrapping: Great for pendants, drop earrings, and framing large stones.
- Beading: Use thread and smaller crystals to build bold necklaces or cuffs.
- Flat-back crystal embellishing: Glue crystals to metal blanks, cuffs, or even upcycled accessories.
- Layered designs: Combine multiple chains or strands with varying crystal types for a complex, luxe look.
Caring for Your Crystal Jewellery
You’ve made something amazing—now keep it shining bright:
- Store pieces in soft pouches to avoid scratches.
- Avoid spraying perfume or hairspray directly on crystals.
- Wipe with a soft cloth after wearing to remove oils and dust.
- If you’re using glue, give it a full 24 hours to cure before wearing.
The Downside to Cheap Crystals
Perhaps you’re working on new designs and wondering whether you can cut corners with your materials. In other words, you can get your hands on a lot of cheap crystals. While the benefits of famous brands are undeniable, you might think that your budget won’t allow for this right now. So, could you choose cheap crystals instead?
Ultimately, this is going to be your decision. Every business is different in what they prioritize. However, you have to realize that cheap crystals have their disadvantages, which you need to remember when investing in materials. Let’s take a look at what they are.
Lack Sparkle
If you’ve ever seen branded crystals, you know they’ve got that beautiful sparkle. They instantly capture your attention and you just know they’re quality. However, the same can’t be said about cheap crystals. Often, they lack this brightness and sparkle, which means that your designs suffer. Indeed, it can lead to disappointment for customers when they receive your products.
Not Durable
Cheap crystals aren’t designed to be durable. Instead, they’re supposed to be cost-effective and quickly work with your designs. Therefore, if you’re searching for quality, you’re not going to find it with cheap alternatives. Instead, know that branded crystals are designed to be durable and long-lasting, which means that you get your money’s worth when you purchase them.
Generic Designs
Cheap crystals all start to look the same after a while. This means that your designs aren’t going to stand out from the crowd and catch the eye of your customers. So, be prepared for generic designs and a lack of uniqueness if you decide to go for unbranded, cheap alternatives. This can come back to bite you in the long run if you’re trying to improve your brand and stand out in the market.
Final Thoughts: Let Your Creativity Sparkle
There’s no better feeling than turning a handful of crystals into a show-stopping piece of jewellery that’s totally your own. Whether you’re dressing up your weekend outfit or creating gifts for friends, crystal statement pieces are a surefire way to add sparkle—inside and out.
