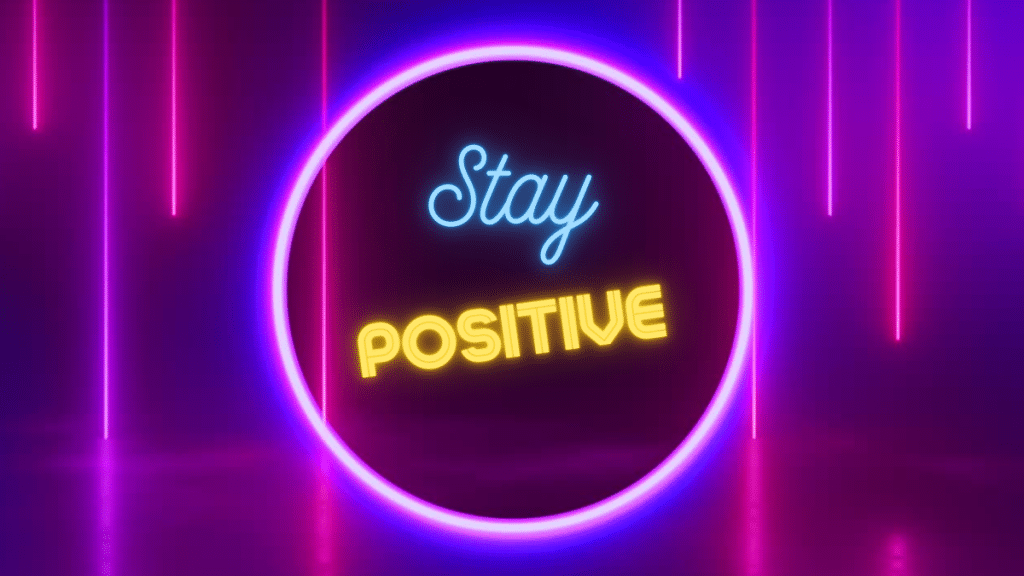
Want to illuminate your space with a vibrant glow? Creating custom LED signs is easier than you think! This guide will help you create a neon sign specifically made for your taste and room.
Discover stunning neon signs to inspire your creative vision. Ready to customize your masterpiece? Let’s make your neon sign dreams a reality! In this guide, we’ll walk you through the process of designing a neon sign custom-tailored to your style and space.
Step 1: Decide Your Neon Sign’s Purpose
Before anything else, ask yourself: “Why do I want this neon sign? Will it light up your bedroom, add flair to a wedding, or promote your business? Determining the purpose gives your project direction. Standardization from the start ensures that the final design remains both practical and aesthetically pleasant.
Step 2: Choose the Text or Design
Your sign can display text, symbols, or both. If you’re going with text, what should it say? A motivational phrase, your name, or a quirky slogan? Draw your concept or look for inspiration on the web if it’s a design.
Tips for Text and Symbol Designs:
- Short phrases make a more significant impact.
- Pick words that resonate with your theme.
- Simplicity is key.
- Consider how the shapes will relate to the LED tubes.
Looking at examples of existing neon signs is a good way to develop ideas for your unique creation. It should be whimsical or sophisticated, but your design will come to embody your vision.
Step 3: Pick Your Font and Style
Fonts are the soul of your neon sign. Script styles offer elegance, while block fonts exude boldness. Your selection should fit the mood of your design. Many creators offer font previews, so take some time to check out the different choices and avoid committing too soon.
A beautiful script font can create a romantic or playful feel, making it ideal for home décor or events such as a wedding. Alternatively, a straightforward sans-serif font could be more effective for formal environments or contemporary architecture. Before making the final decision, visualize how the font will look in glowing tubes.
Step 4: Select Colors
Neon colors can shift the atmosphere of any space. Here’s how to choose:
Warm Hues: Reds, yellows, and oranges bring energy and passion.
Cool Tones: Blues, greens, and purples are perfect for relaxation.
Pastels: Soft, playful, and trendy.
Experiment with color combinations for unique effects. Many suppliers support multi-color signage, so don’t hesitate to get creative! Remember how the chosen colors will harmonize with your room’s existing decor or branding elements if it’s for a business.
Step 5: Decide the Size and Placement
Think about where the sign will go. Will it dangle over your sofa, rest against the wall, or shine behind a bar? Measure your space to ensure the size fits perfectly. Large signs may control a more intimate space, and miniature signs may go unnoticed in a more expansive space.
Consider both viewing distance and visual balance. A medium-sized sign is usually optimal for most interiors, balancing the impishness of boldness and the elegance of subtlety. Placement affects visibility, so look for spots that catch attention without being overwhelming.
Step 6: Add Special Features
Looking for something extra? Some suppliers offer:
Dimmer Controls: Adjust the brightness for any mood.
Remote Options: Convenience at your fingertips.
Flash Effects: Create dynamic lighting sequences.
Additional features make your sign more interactive and functional. For example, dimmers are essential if your sign will be in a bedroom or a relaxing area. Similarly, flashing or scrolling text might be great for grabbing attention in a retail setting.
Step 7: Select the Right Vendor
Finding the perfect vendor makes all the difference. Select a company offering high-quality products, positive feedback, and customization. Pose a few questions to ensure that you are getting exactly what you wish for.
A trustworthy vendor will guide you through the process and offer mockups or previews before production. Customer care provides information such as mounting hardware, power supply requirements, and design modifications.
Step 8: Confirm Your Design
Before finalizing the order, double-check every detail:
Is the spelling correct?
Are the colors right?
Does the design match your vision?
Most companies provide previews or mockups. Take advantage of this to make any necessary adjustments. If you’re unsure about the specifics, ask about additional services like free design consultations.
Step 9: Place Your Order
Once you’re happy with your design, it’s time to place the order. Consider shipping durations, especially if you need your neon sign for an event. Some companies offer rush options if you’re in a hurry.
Verify shipping costs and timelines. Custom pieces often take longer to produce, so plan accordingly if you work with tight deadlines. Open communication with your vendor will allow for an effortless, headache-free process.
Step 10: Install and Enjoy
Your custom LED sign has arrived! Most signs are easy to install, with pre-drilled holes for simple hanging. Please follow the manufacturer’s instructions if your sign needs wiring or additional light fixtures.
After installation, step back and appreciate your new, beautiful, glowing creation. Whether it adds ambiance to your room or highlights a brand logo, your neon sign is sure to make a statement.
Maintenance Tips:
- Clean the sign by wiping it off with a dry or damp hand cloth.
- Avoid overloading the power supply to extend its lifespan.
- Please do not place the sign in direct sunlight so it maintains its color vividness.
Designing a personal neon sign is as much a process as the end product. By following these ten steps, you’re not just creating a sign—crafting a glowing symbol of your personality or brand.
Ready to start? Your dream neon sign awaits! Start your project today and brighten your area with radiant appeal.
