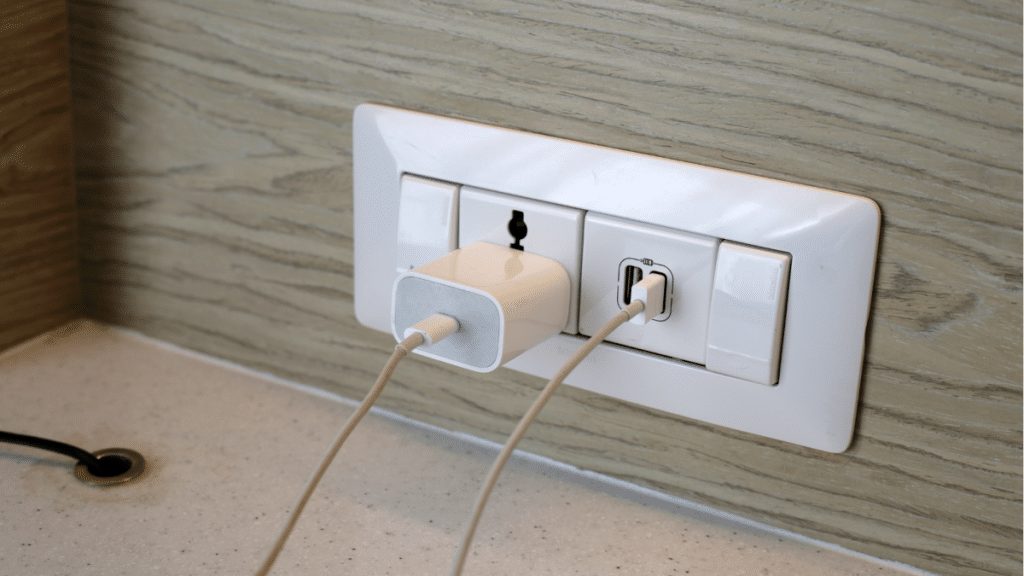
Installing a USB outlet in your home might initially seem like a daunting task, but with the right tools and some know-how, it is an achievable DIY project. USB outlets are growing in popularity as more devices require USB charging ports. They offer convenience, reduce clutter caused by large adapters, and are perfect for modernizing your home. However, without proper knowledge, it is easy to make mistakes during a USB outlet installation, especially for beginners. This blog post will cover the most common pitfalls to avoid, ensuring your project is both safe and successful.
Why Upgrade to a USB Outlet?
Before jumping into the mistakes, it is important to understand why USB outlet installation is worth the effort. Traditional outlets provide only standard electrical sockets, requiring bulky adapters to charge USB devices. On the other hand, USB outlets combine standard sockets with built-in USB charging ports. This eliminates the need for adapters, freeing up outlet space and giving your home a sleek, updated look.
Aside from aesthetics, USB outlets can significantly improve convenience and efficiency. With faster charging speeds and compatibility across multiple device types, these outlets are not just trendy—they are also convenient.
Mistake #1: Ignoring Local Electrical Codes and Regulations
Many beginners overlook the importance of adhering to local electrical codes and safety regulations when installing USB outlets. Failure to follow these rules can result in improperly installed outlets, which pose a risk of electrical fires or injuries. Before starting your project, research your area’s codes or consult a professional electrician.
Additionally, be sure your wiring and USB outlet match the required standards. Most USB outlets require a 15-amp or 20-amp circuit, so double-check your existing wiring to prevent overloading circuits.
Mistake #2: Working Without Turning Off the Power
One of the most dangerous and common mistakes during a USB outlet installation is forgetting to turn off the power. Simply switching off the outlet at the wall will not cut it—you need to fully shut off the circuit from your home’s electrical panel.
Before you begin, locate the breaker that controls the circuit you will be working on and switch it off. Always verify with a voltage tester to ensure no electricity flows before you start. Skipping this critical safety step could result in severe electrical shocks, which could cause serious injuries or even be fatal.
Mistake #3: Using the Wrong Tools for the Job
Choosing the right tools is essential for any DIY project. For a USB outlet installation, you will need a screwdriver, wire stripper, pliers, voltage tester, and electrical tape. Many beginners make the mistake of improvising with tools on hand, which can result in a poorly installed or damaged outlet.
Another common error is using outdated or worn tools. A dull wire stripper, for example, can fray or break wire strands, compromising the connection and leading to electrical shorts. If you are unsure about the tools required, consult a professional or the USB outlet’s installation guide.
Mistake #4: Miswiring the USB Outlet
During installation, it is crucial to correctly connect the wires to the appropriate terminals. Beginners frequently miswire their outlets by connecting the wrong wire to the wrong screw, leading to a non-functioning outlet or even electrical hazards. USB outlets typically come with two terminals for hot wires (black or red) and neutral wires (white), along with a grounding screw for ground wires (green or bare). Furthermore, always ensure that all connections are tight and secure. Loose wires can create a risk of electrical shorts or overheating.
Mistake #5: Installing the Outlet in an Overcrowded Electrical Box
Another issue DIYers encounter during a USB outlet installation is attempting to install the new outlet in an electrical box that is too small or overcrowded. USB outlets are bulkier than standard outlets as they house additional technology to enable USB charging. If the electrical box does not have enough room for the outlet and wiring, it can lead to improperly connected wires or even damage to the USB outlet itself.
If your current electrical box is too small, consider replacing it with a larger one. This may take a bit longer but is crucial for a safe and functional installation. Overcrowded boxes also create heat buildup, leading to overheating and potential fire hazards.
Mistake #6: Skipping the Testing Phase
Many beginners skip testing the outlet after completing the USB outlet installation to confirm that it is functioning correctly. This step is vital to ensure that there are no wiring errors or loose connections. Use a voltage tester or outlet tester to check each port in the USB outlet for proper functionality. If you find the USB port or electrical sockets are not working, you may need to revisit the wiring and ensure all connections are correct and secure.
Invest the Time for a Successful Project
A USB outlet installation is a fantastic way to enhance your home’s convenience and modernity. However, as with any electrical project, it requires attention to detail, proper tools, and a commitment to safety. Avoiding the common mistakes outlined in this guide will save you time, money, and potential risks. By taking the step-by-step approach and adhering to best practices, even beginners can successfully complete a USB outlet installation.
Happy installing!
