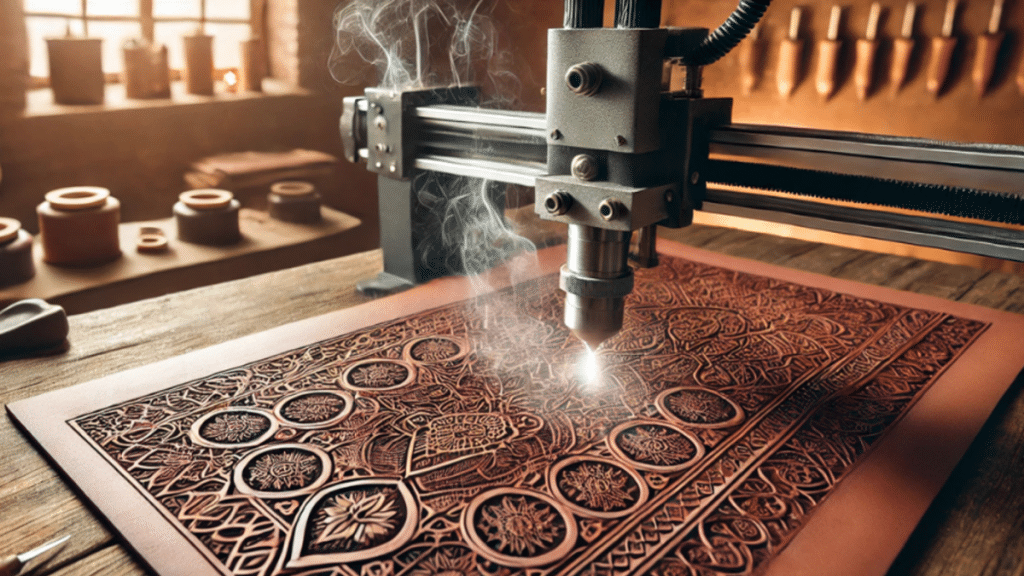
Creating intricate and detailed artwork on leather has always been a challenge for artisans. Traditional methods often fall short when it comes to achieving the precision and efficiency required for complex designs. Common problems include uneven engraving, lack of consistency across pieces, and time-consuming processes.These limitations can be frustrating, especially for professionals aiming to produce high-quality results consistently.
Thankfully, laser technology offers a solution to these challenges. With its unmatched precision and ability to work efficiently on a variety of leather types, laser engraving has become a game-changer for leather crafting.
This article provides a comprehensive guide to mastering the art of detailed laser engraving on leather, achieving flawless results. So let’s begin.
Step-by-Step Guide to Achieve Detailed Artwork on Leather Using Laser Technology
Mastering detailed laser engraving on leather involves a structured approach, combining the right tools, preparation, and techniques. This section provides a clear roadmap for achieving stunning results, covering everything from selecting the best laser equipment to finishing the final piece.
Step 1: Select the Right Equipment
Choose a reliable laser engraver, such as the Thunder Laser’s Nova 24, which is designed for precision and high-quality results.
Step 2: Prepare the Leather
Begin by selecting high-quality, vegetable-tanned leather, which provides the best results. Clean the leather surface with a damp cloth to remove dust and oils, and ensure the leather is flat by using weights or clamps.
Step 3: Design Your Artwork
Create a detailed design using professional software like Adobe Illustrator. Import the design in a compatible file format such as SVG or DXF. Before engraving, test the design on a scrap piece of leather to ensure accuracy and optimal appearance.
Step 4: Configure the Laser Machine
Adjust the laser settings based on the leather’s thickness and the intricacy of the design. Set the power to a lower level for delicate designs and slow the speed for better precision. Ensure the laser focus is properly calibrated and run a low-power test pass to verify alignment.
Step 5: Engrave the Leather
Begin the engraving process while monitoring the progress to ensure consistent results. For intricate designs, use multiple passes to achieve the desired depth without overburning the material. Make adjustments as necessary during the process.
Step 6: Clean and Finish the Artwork
After engraving, remove any residue using a microfiber cloth. Enhance the final product by applying leather-safe dyes or sealants to protect the design and improve durability.
Expert Tips for Achieving Detailed Artwork on Leather
Achieving professional-level detail on leather requires a combination of the right techniques, tools, and expertise. Incorporating insights from experienced artisans and technicians can help you refine your craft and overcome common challenges. Below are expert-recommended tips to elevate your leather engraving projects to the next level.
1. Choose the Right Leather
Experts recommend using vegetable-tanned leather for its smooth surface and ability to produce high-contrast engravings. Test a small section of the leather before engraving to ensure optimal results.
2. Optimize Machine Settings
Adjust the laser engraver’s power, speed, and focus for each specific leather type. Testing settings on scrap material can save time and prevent errors on the final piece.
3. Use High-Quality Designs
Ensure your designs are created or imported in high-resolution vector formats. This allows for cleaner and more precise engravings.
4. Maintain Your Laser Machine
Regularly clean the laser’s lens and mirrors to ensure consistent precision. Proper maintenance will also extend the life of your machine and improve engraving outcomes.
5. Experiment with Multi-Pass Engraving
For intricate designs or deeper engravings, use multiple lighter passes instead of one heavy pass. This approach prevents overburning and ensures better detail.
6. Focus on Finishing
Enhance the final look by cleaning residue with a microfiber cloth and applying leather-safe sealants or dyes to bring out the engraved design’s details and protect it from wear.
7. Keep Safety in Mind
Always work in a well-ventilated area and wear appropriate personal protective equipment (PPE), especially when working with treated or synthetic leather that may release harmful fumes.
Final Words
Laser engraving on leather is a blend of technology and craftsmanship, offering endless creative possibilities for artisans and creators alike. By following the steps outlined in this guide, you can achieve detailed, professional-quality artwork while preserving the integrity and beauty of the leather. Experiment with advanced techniques, embrace new tools, and refine your processes to transform your creative visions into stunning leather creations. Whether you are crafting for personal satisfaction or professional projects, the potential of laser technology in leatherwork is limitless.
Ready to get started? Explore our recommended tools and share your experiences and designs with the community. Let’s inspire each other in this exciting field and elevate the art of leather crafting together!
