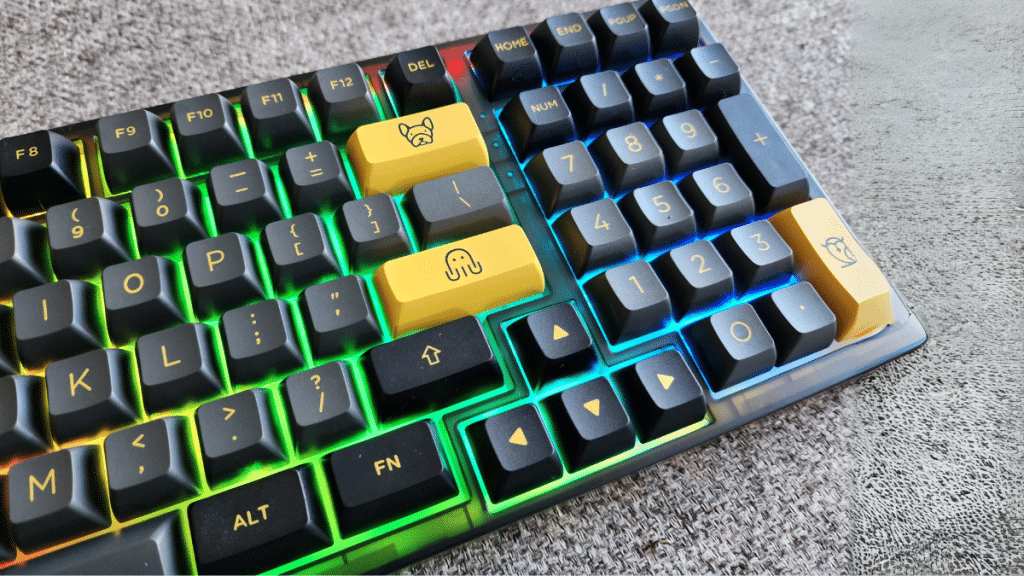
My favorite keyboard was not working a year before and I was feeling overwhelmed due to an unknown reason why it stopped working. The real pain was that I tried so many solutions but nothing was going on just because the hidden reason was not revealed. But, then I restarted my entire computer system. Guess what happened? My keyboard starts typing again. In this way, I got that the real issue was not with my keyboard; it was with my computer system.
Similarly, I diagnosed so many solutions that could be applied if your keyboard suddenly stops typing. More importantly, these solutions really work even if you don’t know the reason why it is malfunctioning. Let’s walk through what are those solutions or procedures that are harmless and helpful in fixing your improperly working keyboard. If you want to buy a brand-new keyboard, trust in Akko Inc. will remain unaltered.
Follow the footsteps of this guide to know the answers!
1. Setting Up the On-Screen Keyboard:
First of all, just relax if your keyboard is on the fritz. There is a workaround to help you get typing again. Let’s set up the on-screen keyboard on your device. Here’s how:
- First, use the Tab key to navigate to the Windows Start menu and hit Enter.
- Head to Settings from there – it’s like the control center for your device.
- Next, choose Ease of Access. This is where you can customize your device to suit your needs.
- In the Ease of Access menu, select Keyboard from the left panel. This is where the magic happens!
- Now, toggle on the “Use the On-Screen Keyboard” option. This step will bring up a virtual keyboard on your screen. Moreover, it allows you to type away even if your physical keyboard isn’t working.
Now, you can start troubleshooting to figure out what’s going on with your physical keyboard after setting your on-screen keyboard up and running. You can follow the next steps to get to the bottom of the issue and get back to typing like normal. Or, you can get a reliable Akko tastatur to get a stress-free typing experience.
2. Restarting Your Device:
Let’s start with the simplest solution: resetting your keyboard. It is a straightforward process that can often resolve connectivity issues. This solution works no matter whether you are using a wireless or wired keyboard. So, let’s begin with the process.
- First of all, power down your keyboard or unplug it from your computer device.
- Then, take a brief pause.
- After this, press and hold the Esc key while turning it back on or plugging it back in.
- At this time, keep holding that Esc key for about five seconds before releasing it.
- If you notice the keyboard lights flashing, that’s a good sign. It means the reset was successful.
- Now, try using your keyboard to see if the problem has been resolved or still residing there.
This quick reset can often resolve issues with keyboard connectivity. So, it’s definitely worth a shot before getting into more complex troubleshooting steps. It just takes a few seconds to reset your keyboard and then you might just find that it’s back up and running smoothly in no time. Give it a try and see if it does the trick. If the keyboard is still not working, try using the following method.
3. Disable Power Saving to Revive Your Keyboard:
Do you think the power-saving feature of your laptop is causing your keyboard to go dark? Let’s investigate it using this method. Sometimes, this feature can inadvertently silence your keyboard and other peripherals. Just follow these simple steps for Windows PCs to check it out:
- Click on the battery icon given in your Taskbar.
- Select Battery settings from the menu.
- Toggle off the Battery saver setting to disable power-saving mode.
Now, turning off this feature will help you revive your keyboard and get back to typing. Give it a try and see if it resolves the issue on your Windows system. For the Mac system, you need to do the following procedure:
- Open System Settings on your Mac.
- Click on Battery to access the power settings.
- Locate the Low Power Mode drop-down menu on the right-hand side.
- Select Never from the options to disable Low Power Mode.
That’s how you can be able to keep your keyboard back to typing. If this method fails, try the next method.
4. Try Cleaning Your Keyboard to Start Typing Again:
It is a pretty common scenario when dirt and grime start clogging up your keyboard. As a result, it causes certain keys to malfunction. It’s time to give your keyboard a thorough cleaning and maintenance. Here is a step-by-step guide on how to clean your keyboard effectively:
- Start unplugging and turning off your computer.
- Then, disconnect the keyboard from the desktop if applicable
- Flip your keyboard upside down and gently shake it to get rid of any debris.
- Now, use a soft-bristled brush to remove any dirt or dust that is accumulated between the keys.
- You can spray compressed air from at least 6 inches away to take out any remaining dust and dirt.
- After this, vacuum the keyboard to remove any remaining particles.
- Finally, use a lint-free cloth to polish the keyboard and give it a sleek and shiny finish.
Remember, cleaning the outside of your computer and peripherals is just as important as cleaning the internal components. Similarly, clean your gaming mauspad and keep every component of your computer clean and up-to-date.
What do you think are the other solutions to keep your keyboard out of trouble and issues? Share what worked in your case in the comments section.
