Do you want to generate prototypes fast on a tight deadline or tight production schedule? Rapid manufacturing can be the solution to your production requirements. With rapid manufacturing, you can get a prototype made much faster than the regular prototyping process.
This is a simple guide on how to get a prototype made with rapid manufacturing.
Understanding about Rapid Manufacturing – What is It?
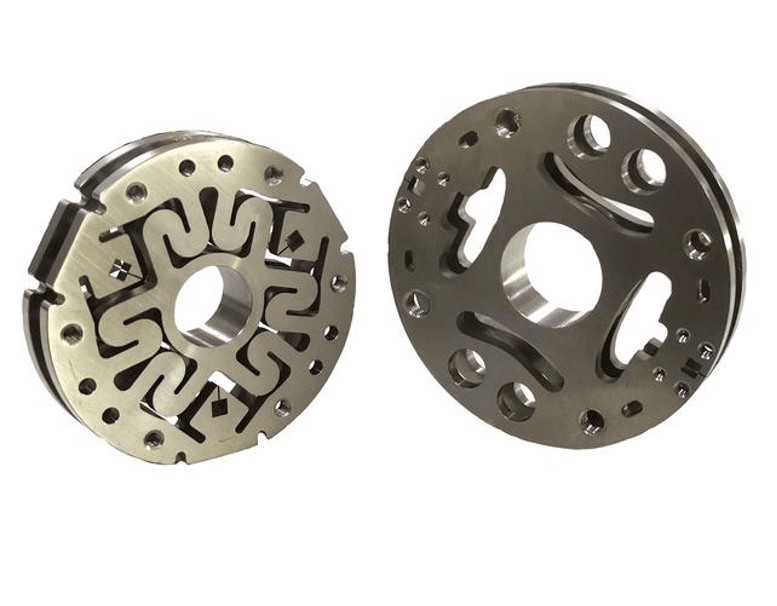
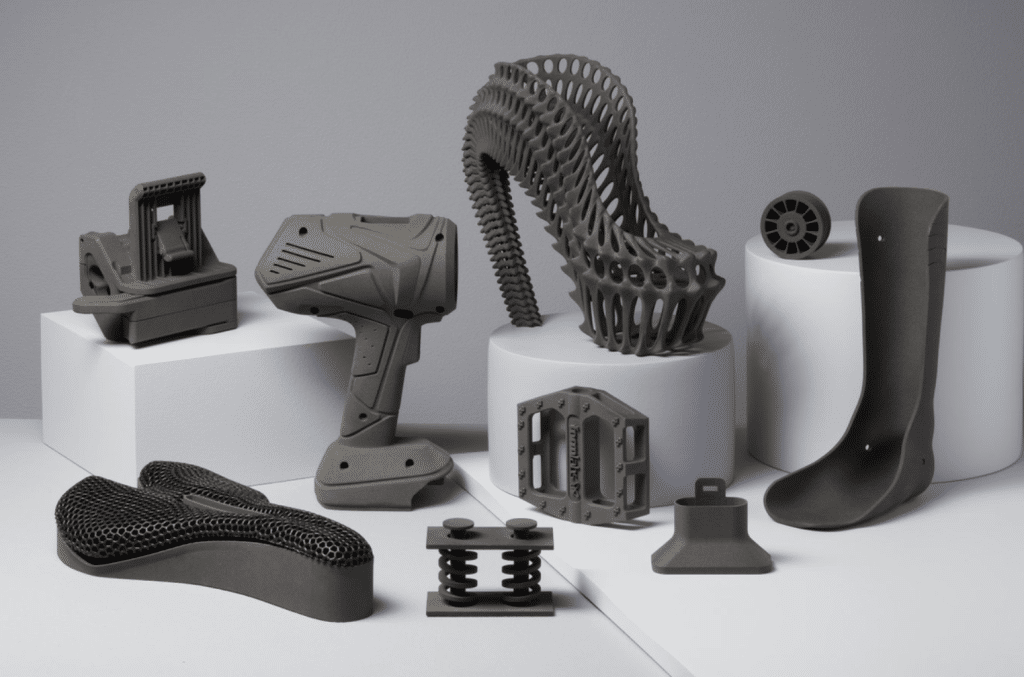
In short, rapid manufacturing is the manufacturing process that allows you to produce prototypes, hardware parts, and components at a faster pace than the regular manufacturing process. Rapid manufacturing uses a combination of various manufacturing processes, such as CNC machining, sheet metal manufacturing, injection molding, 3D printing, and other processes, along with the use of CAD design to make these fast-paced manufacturing processes possible.
With rapid manufacturing, you will need to supply the CAD design data into the manufacturing equipment and automate the manufacturing process after that. Prototypes will be ready in a much faster time than when you use the conventional manufacturing processes.

How Rapid Manufacturing Process Works to Create a Prototype
In rapid manufacturing, there are various aspects involved in creating a prototype for any industry. Here’s how rapid manufacturing process works to create a prototype:
- Designing. Your prototype won’t get produced without a proper design for it. Designing is part of the rapid manufacturing process, whereby you will use the CAD software to design your prototype. You will import your design to your 3D printing or CNC machining equipment later.
- Printing/machining. Printing is another aspect of the rapid manufacturing process that you will perform after the design creation process. In this process, you will print or machine the prototype according to the CAD design you have supplied to the 3D printing or CNC machining equipment.
- Testing. Testing is another part of the rapid manufacturing process you will need to perform. After printing your prototypes, you will need to test for their functionalities and features. It’s important to take notes on what works and what doesn’t work. Then, you will need to use this testing data to improve upon the next prototype design.
- Improvements. Learning about the prototypes you have produced is important, as you will need to use the data to improve upon its design. You will need to fix various issues that are apparent in the initial prototypes and improve upon them. You will need to keep on improving your prototypes until you have reached the requirements or standards that you have set for your final products.
- Approval. After improving the prototypes and verifying their functions and features, it’s the time for you to approve them to proceed to the next production process. The approval process will be the last-in-line process before you take your prototypes to a full-scale production.
Step by Step to Get a Prototype Made with Rapid Manufacturing
The rapid manufacturing process offers you a hassle-free prototyping process that you can follow to produce any prototype at a faster pace. You can fit your prototyping process within your deadline, and depending on the complexity of your design, you can get your prototype ready in just a few hours to a few days.
Here’s the step-by-step process to get a prototype made with rapid manufacturing:
- Choosing the prototyping process you will use. There are various rapid prototyping processes you can use in rapid manufacturing. This includes DIY injection molding, CNC prototyping, 3D printing, sheet metal working, and many others. It’s best for you to pick the prototyping process you will use at the start of the process, so that you don’t need to think twice about it later.
- Creating a CAD design for your prototype. The one thing that you need to do to create a prototype with rapid manufacturing is to design your initial blueprint for the prototype using the CAD software. You can work with any CAD software available in the market today, whether it is open source or commercial software. Make sure to design your prototype by following the standards set for your prototyping equipment.
- Transferring the CAD design data to your prototyping equipment. Now that you have created the initial blueprint for your prototype, you will need to convert the CAD design file to the format that will be compatible with the prototyping equipment you will use. For instance, if you use a 3D printing equipment, convert it to the format that will be readable for the 3D printer. It’s the same if you are using the CNC machining equipment.
- Producing the prototype. No matter what the prototyping equipment you use, you can produce the prototype based on your initial blueprint after transferring the CAD design file into the equipment. The prototype production process will be done at a faster pace, so you can get your prototype ready in just a few minutes or few hours, depending on the complexity of your design.
- Examining and testing the prototype. After producing the prototype, it’s time for you to examine it and test all its features. You need to ensure that the prototype can function well and all the features are functional. Also, you need to make note of any issues that might happen when you use the prototype. It’s also best to ask some people to try the prototype for some additional opinions about it.
- Redesigning and reproducing the prototype. Now, you will need to go back to the design phase after examining and testing your prototype. Be sure to fix any issues that you have with the previous prototype by changing some design aspects of it. After that, you can reproduce the prototype by using your newest design blueprint. Then, you will need to go through the examining and testing process again until you get the prototype version that meets all your requirements and standards.
- Finalizing the prototype. After ensuring that your prototype has all the features you need and it meets with your quality standards and requirements, you will need to finalize the prototype. At this stage, you can add various additional characteristics for the prototype, such as colors and surface finishing options. Then, your prototype will be ready for production.
- Choosing the prototype as the final product. Next, you will need to choose the prototype as the final product you can produce in a large-scale production. Depending on your prototyping purpose, this will be the stage where you will send the prototype design for commercial production. At this stage, you can no longer make any changes for the prototype.
Using Rapid Manufacturing Services
Please note that you can perform the rapid manufacturing process in the comfort of your home, as is the case with 3D printing and DIY injection molding, and you can also perform the rapid manufacturing process in the regular manufacturing facility. It will depend on your project and the purpose behind it.
It’s also a better idea to use a rapid manufacturing service that can help you with all the prototyping steps, so that you can get your prototype done with no hassles. These rapid manufacturing services will help you from the design phase to the production and quality checking phase. You can get your prototype ready and get delivered to you as soon as possible if you have a tight deadline.
Conclusion
Rapid prototyping is a process that you can follow to get a prototype made in a time crunch. You can pick between various rapid prototyping methods, such as CNC machining, 3D printing, DIY injection molding, and so on.
You will need to design your prototype with CAD software and send it to the prototyping equipment of your choice to get your prototype produced.
