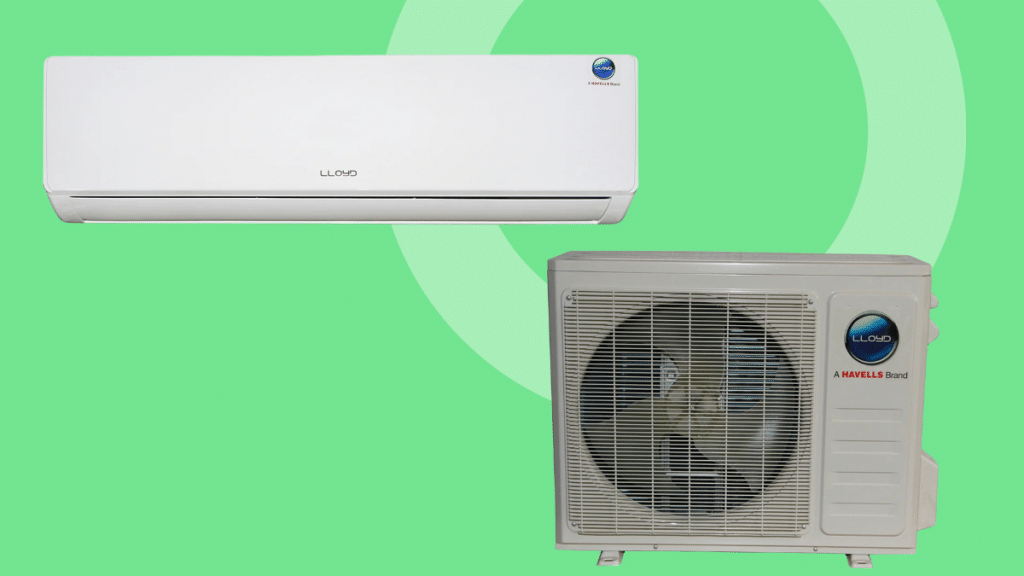
Single zone mini split systems are an excellent solution for efficient heating and cooling in individual rooms or spaces. They are compact, energy-efficient, and easy to operate, making them ideal for homes, offices, and small commercial areas.
However, proper installation and maintenance are crucial to maximize their performance and lifespan. This guide will walk you through the steps to effectively install and maintain a single-zone mini split system.
Before diving into the details, selecting the right system for your needs is essential. For instance, an 115v mini split is perfect for areas with standard electrical setups, offering homeowners both convenience and flexibility.
First, let us explore the installation process, followed by maintenance tips to keep your system running smoothly.
Step-by-Step Guide to Installing a Single Zone Mini Split
Before installing your single zone mini split, there are certain procedures to observe to overcome any hurdle during the mounting process. Thankfully, we are listing simple steps that will assist you in actualizing this matter.
Step 1: Choose the Right Location
Selecting the right location for both the indoor and outdoor units is critical.
- Indoor Unit: Install the indoor unit on a sturdy wall, ideally in a central position within the room to ensure even air distribution. Avoid areas exposed to direct sunlight, heat sources, or obstructions that could block airflow.
- Outdoor Unit: To protect the outdoor unit from extreme weather, place it on a stable, level surface, preferably in a shaded area. Ensure there’s enough clearance for proper airflow and maintenance access.
Step 2: Install the Mounting Bracket
– Mark the location of the mounting bracket on the wall using a template provided with your mini split system.
– Drill holes into the wall and secure the bracket using screws and anchors. Ensure it is level to avoid operational issues.
Step 3: Drill the Hole for the Refrigerant Line
– A drill creates a hole through the wall near the mounting bracket. The hole should be slightly larger than the diameter of the refrigerant line and insulated with a rubber gasket to prevent energy loss and pest entry.
– The hole should be sloped downward toward the exterior to allow proper drainage of condensate.
Step 4: Mount the Indoor Unit
- Connect the indoor unit’s refrigerant lines, drain pipe, and electrical cables. These lines will pass through the drilled hole to the outdoor unit.
- Carefully mount the indoor unit onto the bracket, ensuring the connections are secure and not pinched or kinked.
Step 5: Set Up the Outdoor Unit
- Position the outdoor unit on a sturdy base, such as a concrete pad or wall-mounted bracket. Use vibration pads to minimize noise during operation.
- Connect the refrigerant lines, electrical wiring, and drain line to the outdoor unit, following the manufacturer’s instructions.
Step 6: Vacuum the Refrigerant Lines
A vacuum pump removes air and moisture from the refrigerant lines to ensure optimal system performance. This step is critical to prevent contamination and maintain efficiency.
Step 7: Test the System
– Double-check all connections and power on the system.
– Test the mini split by running it in heating and cooling modes to confirm proper operation.
Maintenance Tips for a Single Zone Mini Split
Regular maintenance is essential to keep your mini split system running efficiently and to avoid costly repairs. Follow these tips to ensure your system remains in top condition:
1. Clean the Filters
Dirty filters reduce airflow and strain the system, decreasing efficiency.
– Remove and clean the filters every 4-6 weeks.
– Wash them with warm water and mild soap, then let them dry completely before reinserting.
2. Inspect the Indoor Unit
– Wipe the indoor unit with a soft, damp cloth to remove dust and debris.
– Check for any signs of mold or mildew, especially around the air vents.
3. Check the Outdoor Unit
– Clear debris, leaves, and dirt around the outdoor unit to maintain airflow.
– Inspect the fins and coils for damage or clogging, and clean them with a soft brush or a specialized coil cleaner.
4. Examine the Refrigerant Lines
– Inspect the refrigerant lines for leaks or damage.
– Ensure the insulation on the lines is intact to prevent energy loss.
5. Schedule Professional Servicing
– Have your mini split system professionally serviced at least once a year.
– Technicians can check refrigerant levels, test electrical connections, and perform a deep clean to enhance system longevity.
Troubleshooting Common Issues
Even with regular maintenance, your mini split may encounter occasional problems. Here are some common issues and their potential solutions:
1. System Not Cooling or Heating Properly
Dirty filters or low refrigerant levels. Clean the filters and check for refrigerant leaks. Call a professional if needed.
2. Unusual Noises During Operation
Loose components or debris in the outdoor unit. Inspect both units for loose screws, debris, or foreign objects.
3. Water Leaks from the Indoor Units
Clogged drain pipe or improper installation. Clean the drain pipe and ensure the unit is mounted correctly.
Benefits of Maintaining Your Mini Split
Proper installation and regular maintenance of your single-zone mini split offer several advantages, including:
1. Improved Energy Efficiency: A well-maintained system uses less energy, reducing your utility bills.
2. Enhanced Lifespan: Routine care ensures the system operates efficiently for years to come.
3. Better Air Quality: Clean filters and components improve indoor air quality by reducing allergens and pollutants.
4. Reliable Performance: Regular inspections and servicing minimize the risk of unexpected breakdowns.
Final Thoughts
Installing and maintaining a single-zone mini split system doesn’t have to be daunting. With the right tools, preparation, and regular upkeep, you can enjoy efficient and reliable heating and cooling for years. Whether you’re opting for a 115v mini split or another model, following these steps ensures optimal performance and long-term satisfaction.
After dedicating time to proper installation and consistent maintenance, you’ll not only save on energy costs but also extend the life of your mini split system, providing a comfortable and hassle-free indoor environment.
