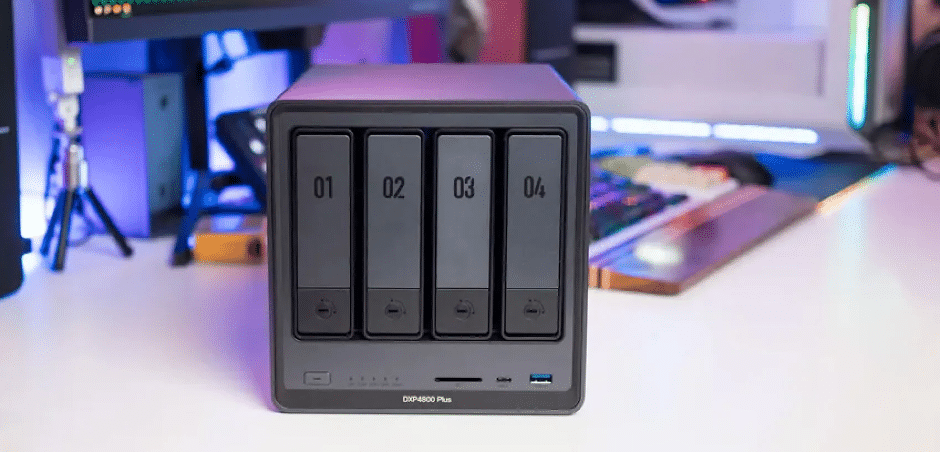
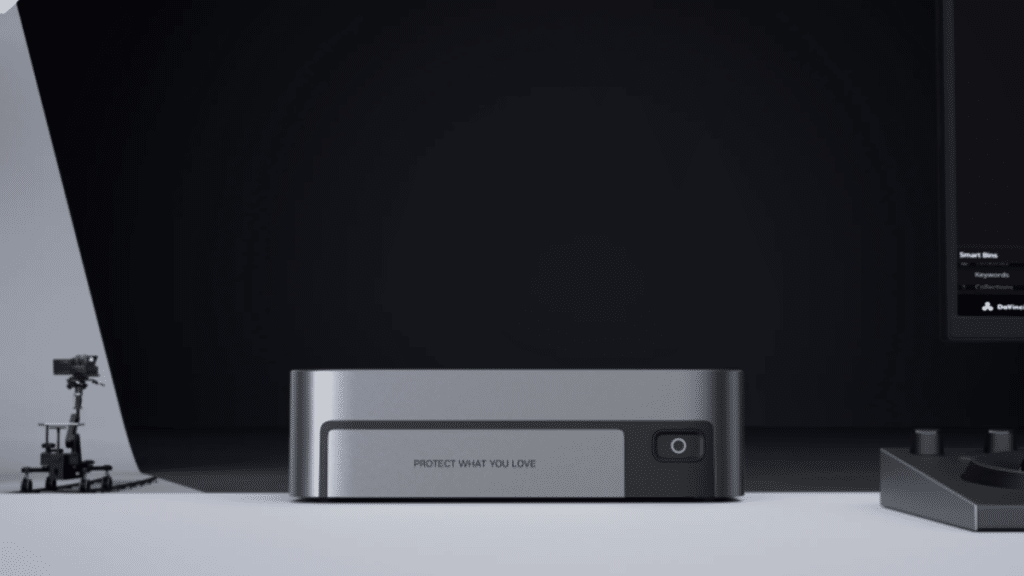
Network attached storage, or NAS, has become an increasingly popular data storage solution for both home and business use. A NAS device is essentially a small computer dedicated to file storage and sharing that is connected to your local network. Setting up and configuring your own NAS system may seem daunting, but with the right guidance, it can be a straightforward process.
Benefits of a NAS System
There are many advantages to using a NAS device:
● Centralized storage – All your data is stored in one place and accessible from anywhere on your network
● Shared access – Easily share files and folders with multiple users
● Flexibility – NAS supports various RAID configurations for redundancy and/or increased capacity
● Remote access – Access your stored files remotely via the internet
● Backups – Automatic backup for all network devices
● Media streaming – Many NAS systems support media streaming
● Extra features – Some NAS devices have additional features like web servers, VPN servers, etc
Choosing a NAS Device
There are a wide variety of NAS systems available from companies like UGREEN, QNAP, Synology, Asustor, TerraMaster and more. The main factors to consider when choosing one include:
● Storage capacity – How much storage space do you need? Many NAS units have bays for multiple hard drives.
● Processor – A more powerful CPU allows for faster operation and transcoding.
● RAM – More RAM enables the NAS to handle more simultaneous tasks and users.
● Network interfaces – Multiple ethernet ports support link aggregation for increased bandwidth.
● RAID support – Allows configuring drives for redundancy or capacity.
● Extra features – Assess which built-in apps and functions you may want to use.
Consider both your current needs and any future growth when selecting a NAS. Buying a more powerful model upfront allows room to expand storage and users down the road.
Setting Up Your NAS Hardware
Once you have purchased a NAS device, the first step is to physically set it up with your drives installed. Here is an overview of the hardware setup process:
1. Unpack the NAS and drives. Most units come diskless so you will need to purchase compatible hard drives.
2. Remove the NAS cover and install the hard drives in the drive bays. Secure them in place.
3. Connect the NAS to your router using an ethernet cable. You may need to connect it to a switch if your router lacks enough LAN ports.
4. Connect the power cable and turn on the NAS. You should hear the drives power up.
5. If available, press the one-touch copy button to transfer data from an old NAS.
6. Replace the cover on the NAS chassis.
Refer to your device’s hardware manual for full instructions on installing drives and making physical connections. Once powered on, you are ready to proceed with software configuration.
Configuring Your NAS Operating System
NAS devices run a storage-focused operating system or OS that gives you access to settings and management features. Here are the key steps when first configuring your NAS OS:
1. Accessing your NAS – On first boot, locate the NAS on your network and access the web interface via a browser.
2. Changing default credentials – Set a new administrator username and password for security.
3. Network settings – Configure IP address, DHCP, port settings, link aggregation, etc.
4. Firmware updates – Check for and install the latest firmware version.
5. Drive configuration – Set up your drives in the desired RAID configuration.
6. Shared folders – Create folders for users to access with custom permissions.
7. User accounts – Add any users that need access to the NAS.
8. Backups – Enable backup jobs to protect your data.
9. Apps and services – Install and set up apps like Plex, web servers, etc.
10. Security settings – Configure firewall rules, disable unused services, etc.
Most NAS operating systems like QTS and DSM provide user-friendly web interfaces to guide you through the initial setup process. Take time to thoroughly configure all the settings to match your environment and requirements.

Key NAS Operating System Features
Let’s take a more in-depth look at some of the main features and functions you will find within your NAS OS:
File Sharing and Permissions
Creating shared folders and setting user/group permissions is central to enabling access to your NAS. Give each user and device only the access level needed for enhanced security.
Backups
A NAS makes an ideal backup destination for all devices on your network. Configure scheduled backup jobs to automatically protect your PCs, smartphones, etc. Cloud backups provide offsite protection.
File Management
Centrally manage all your data from the NAS interface. Useful features include searching, copying, moving, folder permissions, compression, quotas, versioning, and recycle bin recovery.
RAID Configuration
RAID provides increased redundancy or capacity. Supported RAID types vary by NAS model but may include RAID 0, 1, 5, 6, 10, etc. Choose the right RAID for your needs.
Storage Pools
For more flexibility, create storage pools combining multiple drives, then create shared folders on the pools. Expand pools by adding additional drives as needed.
Caching
Enabling SSD caching can significantly improve NAS performance by storing frequently accessed data on fast SSDs instead of hard drives.
Snapshots
Schedule snapshots to capture the state of shared folders at different points in time. Rollback to earlier snapshots to easily recover from accidental changes or corruption.
Network Protocols
NAS systems support SMB, AFP, NFS, FTP, and WebDAV protocols for seamless file access across Windows, Mac, Linux, and mobile operating systems.
Link Aggregation
Combine multiple ethernet ports on your NAS and switch for increased bandwidth, redundancy, and load balancing when transmitting data.
Cloud Access
Mobile apps from NAS vendors allow remote access to your files stored on the NAS from anywhere with an internet connection.
Advanced Features and Add-Ons
Many NAS platforms allow installing add-on apps and services to expand functionality. Some popular add-ons include:
● Media Server – Stream videos, music and photos to various media players.
● Surveillance – Connect IP cameras and view footage through the NAS.
● Virtual Machines – Run virtual machines with hypervisors like VirtualBox.
● Web Server – Host websites, blogs, CMS platforms, etc.
● Cloud Sync – Sync NAS folders with cloud services like Dropbox.
● Notes – Collaborate via notes, task lists, and calendars.
● VPN Server – Establish a VPN connection to securely access your NAS.
With the right apps, you can turn your NAS into an all-in-one home media center, surveillance DVR, web server, and more.
Maintenance Best Practices
To keep your NAS running smoothly, be sure to follow these maintenance best practices:
● Monitor disk health and preemptively replace failing drives.
● Keep firmware and apps updated to the latest versions.
● Clean dust from the chassis and ensure proper ventilation.
● Periodically check backup jobs and test restores.
● Secure physical access to prevent unauthorized tampering.
● Use a UPS to protect against power outages.
● Check the RAID consistency and repair if issues are found.
Setting up automated monitoring and alerts for your NAS can help detect and address problems early on.
Tips for Configuring Your NAS
Keep these tips in mind when setting up and managing your NAS system:
● Map out your storage requirements ahead of time.
● Use a separate device for backups rather than NAS internal drives.
● Enable drive encryption for enhanced security.
● Minimize access permissions for each user or device.
● Use a strong administrator password and enable auto-blocking.
● Configure email or push alerts for critical events.
● Enable remote access via QuickConnect or VPN.
● Schedule regular scans for malware and virus threats.
Conclusion
Setting up your own NAS device provides centralized storage, backup, security, and many more benefits. Carefully choose your NAS model based on your requirements. Follow the steps outlined here for installing drives, configuring system settings, enabling useful features, and ongoing maintenance best practices. With the right guidance, you can have your own fully-featured NAS solution up and running in no time.
