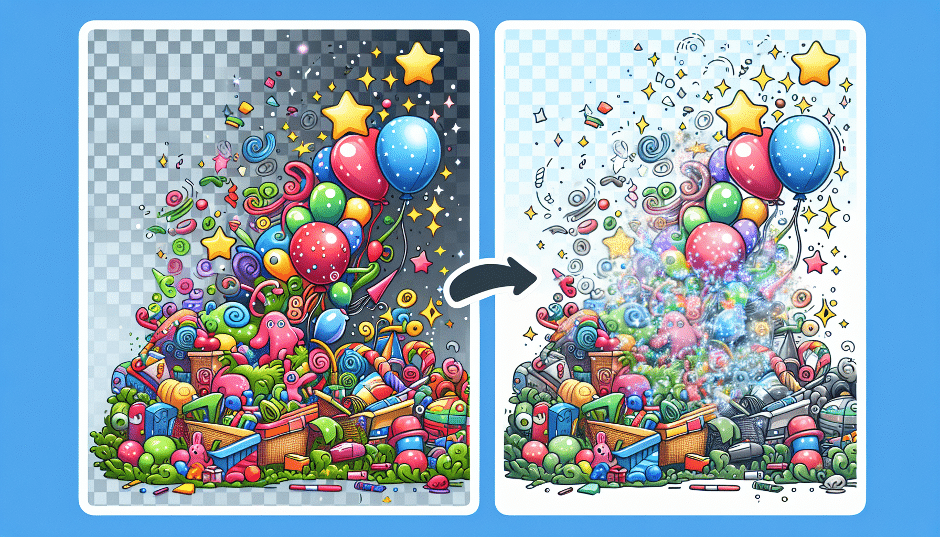
Need to know how to remove a background from an image? This guide will show you quick and simple methods to get the job done using various tools. You’ll learn both manual and automatic techniques to suit any project.
Understanding Background Removal
Removing the background from an image isn’t just a technical task; it’s an art that can significantly enhance the focus on key visual elements. Eliminating distractions directs the viewer’s attention to the subject, enhancing the overall aesthetic appeal. This technique is especially valuable in digital marketing, where high-quality visuals can captivate audiences, leading to higher engagement and sales. To effectively remove the background, one must consider the composition and clarity of the subject.
Tools like the Picsart Remove Background tool transform any photo asset into compelling product imagery. Imagine your product photos with a clean, clear background, ready to be placed on any website or advertisement. Contrasting the subject with the background makes your images more dynamic and visually appealing.
A transparent background also enhances brand visibility across various media. Images free from clutter become more memorable and recognizable, crucial for building a strong brand identity with a white background and a background transparent.
Selecting the Right Tool
Selecting the appropriate background removal tool can significantly impact the quality of your final image. Effective tools ensure your product images are engaging and visually appealing, which is crucial in marketing. A clear background can enhance brand visibility across various media, making it easier for audiences to recognize and remember your brand.
AI-based background removal software typically features user-friendly interfaces, allowing photographers of various skill levels to use them effectively. These tools often come with built-in templates and presets, which can aid less experienced users in achieving professional results. For instance, the Picsart Remove Background API tool automates the process, transforming any photo asset into compelling product imagery.
However, while AI tools offer convenience and speed, manual methods provide a level of control and precision that automated tools may lack. Tools specifically designed for background removal can greatly enhance the quality of your editing process. For complex images requiring meticulous detail, manual techniques might be the better choice.
Using an Online Background Remover

Online background removers offer a convenient and quick way to edit your images. Begin by opening an app or website like Canva or Picsart and starting a new design project or selecting a template. You can upload images in various formats such as JPG, PNG, HEIC, or HEIF, allowing flexibility in the type of images you can work with.
Upload your image, select it, click on ‘Edit Photo,’ and use the ‘BG Remover’ feature to eliminate the background. This feature automatically removes the background, making the process quick and efficient. Refine the image by adjusting the areas to keep or remove using brush tools in the online editor if necessary. Don’t forget to complete the picture upload.
Once you’re satisfied with the result, save your edited images as PNG files to preserve transparency without additional steps. Your images will then be ready for use in various projects, from product listings to social media posts.
Automatic Background Removal with AI
AI tools for automatic background removal can significantly accelerate the editing process, particularly with large batches of photos. Ideal for bulk editing tasks, these tools reduce the time spent on background removal. For instance, the Picsart Remove Background API tool automates the process, simplifying the handling of multiple images at once.
AI background removers are highly accurate in distinguishing subjects from complex backgrounds, even with intricate details. Such accuracy ensures the subject remains sharp and clear, while the background is cleanly removed.
Consistency in results is another major advantage of AI tools, maintaining uniform quality across multiple images. These tools save time and provide reliable, consistent results, making them ideal for editing a large number of images quickly and efficiently.
Manual vs. Automatic Background Removal

When it comes to background removal, both manual and automatic methods have their pros and cons. Manual background removal offers detailed control and precision, necessary for complex images requiring meticulous detail. This method often results in higher quality outputs, especially in professional settings.
Conversely, AI background removers quickly and efficiently remove backgrounds, saving time and effort. They are particularly useful for bulk editing tasks, where consistency and speed are important. However, automated background removal often lacks the customization options available in manual editing, limiting creative expression.
Some tools offer a fine-tune option, allowing users to manually adjust areas missed by the AI, providing the best of both worlds. This flexibility ensures professional results regardless of the image complexity.
Saving and Exporting Your Image

After successfully removing the background, save and export your image correctly to retain the transparency. Use formats like TIFF, PNG, or GIF, which support transparency. JPEG format does not support transparent backgrounds and will automatically fill the background with white when saved.
Ensure the transparency pattern is activated when saving in formats like TIFF. This keeps transparent areas clear and prevents them from being filled with a default color.
Once satisfied with the background removal, download your original image in high-resolution PNG format for various projects. Saving your images in the correct format preserves quality and transparency, making them ready for product listings, marketing materials, and more.
Enhancing Your Edited Image

After removing the image background, enhance your edited image to make it look professional and polished. Experimenting with textures, colors, and overlays can greatly improve the visual appeal of your photos, creating captivating compositions. Fine-tuning lighting and shadows adds depth and dimension, making your images more dynamic.
Adding foreground elements enhances the engagement of your edited images. Techniques like the rule of thirds and depth of field draw attention to the subject and enhance the overall impact of your images. Attention to detail in composition, such as framing and arrangement, significantly elevates the quality of your edited images.
Applying these techniques transforms your images from good to stunning, ensuring they stand out in any context.
Common Mistakes to Avoid
Even with the best tools and techniques, common mistakes can undermine the quality of your background removal process. Rushing the process can result in overlooked areas and jagged edges, giving your images an unprofessional appearance. It’s important to take your time and ensure every detail is addressed.
Neglecting small details like hair, shadows, and reflections is another common mistake. These elements can make or break the realism of your edited image and require careful attention. Failing to zoom in for precise editing can hinder accurate background removal and detail management.
Being mindful of these mistakes helps achieve high-quality results, ensuring your images look their best.
Summary
In summary, removing the background from an image can significantly enhance its visual appeal and make your subjects stand out. Whether you choose to use AI-based tools for their speed and accuracy or manual methods for their precision and control, the right approach depends on your specific needs and the complexity of the images.
By following the tips and techniques discussed in this guide, you can create stunning visuals that captivate your audience and elevate your brand. Now that you have the knowledge and tools, it’s time to start transforming your images and making them shine.
Frequently Asked Questions
What are the best tools for removing backgrounds from images?
If you want quick and accurate background removal, go for AI-based tools like Picsart and Canva. For more complex images, manual methods will give you better control.
How do I save an image with a transparent background?
To save an image with a transparent background, make sure to use formats like PNG, TIFF, or GIF that support transparency. It’s that simple!
Can I use online background removers for bulk editing?
Absolutely, online background removers are great for bulk editing because they save you time and ensure consistency across your images. Just upload your batch, and you’re good to go!
What common mistakes should I avoid when removing backgrounds?
To get the best results when removing backgrounds, take your time and pay attention to the small details—zoom in for those precise edits. Rushing through can lead to sloppy work!
How can I enhance my edited images after removing the background?
To really make your edited images pop after removing the background, play around with textures, colors, and overlays. Don’t forget to fine-tune the lighting and shadows for that extra depth!
