Introduction
Installing a new roof is one of the most significant home improvement projects a homeowner can undertake. A properly installed roof ensures your home’s safety, enhances energy efficiency, and adds to its overall value. For those embarking on this journey, understanding the roof installation process can help minimize stress and ensure a successful outcome. Platforms like Roofer.com can connect you with experienced roofing contractors to guide you through every step.
The Importance of a Professional Roof Installation
Roof installation is a complex task requiring expertise, precision, and the right materials. A professional roofing contractor ensures:
- Proper adherence to building codes and regulations.
- Correct installation techniques to maximize the roof’s lifespan.
- Use of high-quality materials suited to your home’s needs.
Attempting a DIY roof installation or relying on inexperienced workers can result in costly errors and potential safety hazards.
Step-by-Step Guide to the Roof Installation Process
1. Initial Assessment and Planning
Before any work begins, a thorough assessment of your home is conducted to determine the scope of the project.
- What to Expect:
- Inspection of the existing roof structure and decking.
- Identification of any underlying issues, such as rot or water damage.
- Discussion of roofing materials, colors, and designs to suit your preferences.
- Key Considerations: Your contractor will provide a detailed estimate, including labor, materials, and timeline.
2. Choosing the Right Roofing Materials
The selection of roofing materials greatly impacts the durability, aesthetics, and energy efficiency of your roof. Common options include:
- Asphalt Shingles: Affordable and versatile, ideal for most homes.
- Metal Roofing: Durable and energy-efficient, with a modern appearance.
- Clay or Concrete Tiles: Long-lasting and excellent for warmer climates.
- Slate: Premium material known for its elegance and longevity.
Discuss your options with your contractor to choose materials that meet your budget and style requirements.
3. Preparing the Site
Proper preparation ensures the safety and efficiency of the installation process.
- Steps Involved:
- Protecting surrounding landscaping and property with tarps or plywood.
- Removing old roofing materials to inspect the decking.
- Disposing of debris to maintain a clean worksite.
4. Repairing and Reinforcing the Roof Deck
Once the old roof is removed, the decking is examined for damage.
- Common Repairs:
- Replacing rotted or weak wood.
- Ensuring the decking is properly secured and level.
- Why It’s Crucial: A solid foundation is essential for the roof’s structural integrity.
5. Installing Underlayment and Flashing
The underlayment and flashing form the first layer of protection against water infiltration.
- Underlayment: A moisture-resistant barrier applied over the decking.
- Flashing: Metal strips installed around chimneys, vents, and valleys to prevent leaks.
6. Laying the Roofing Materials
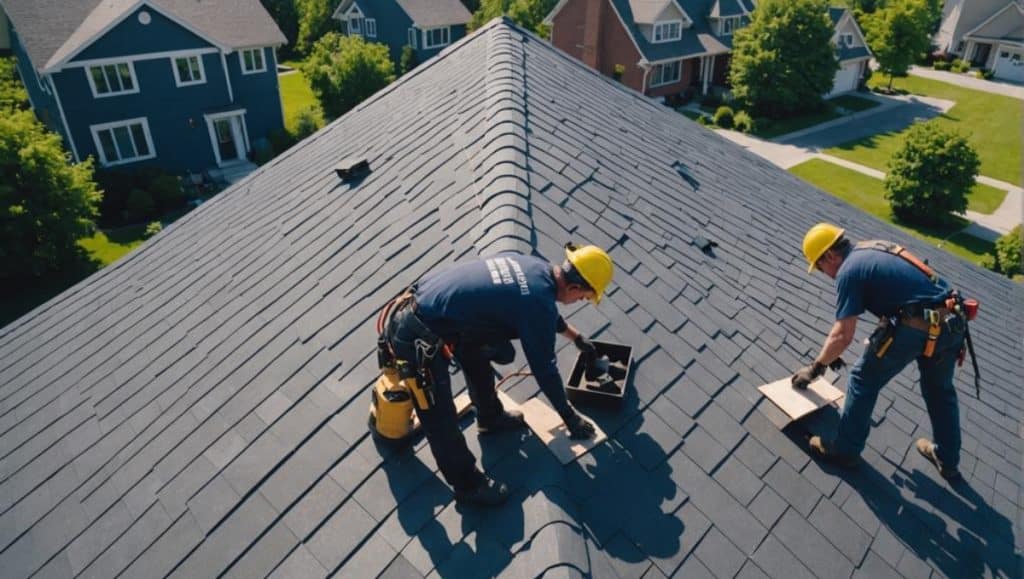
With the foundation in place, the roofing materials are installed according to manufacturer specifications.
- Process:
- Starting from the bottom edge and working upwards.
- Securing materials with nails, screws, or adhesives as required.
- Attention to Detail: Proper alignment and spacing are critical to ensure a seamless and durable roof.
7. Adding Finishing Touches
The final steps enhance the roof’s functionality and aesthetics.
- Ridge Caps: Protect the roof’s peaks while providing a polished look.
- Ventilation: Installing vents ensures proper airflow, reducing moisture and extending the roof’s lifespan.
- Gutter Installation (if applicable): Properly installed gutters protect your roof and foundation from water damage.
8. Final Inspection and Cleanup
Before declaring the project complete, a thorough inspection is conducted to ensure quality and compliance.
- What to Expect:
- Checking for any loose materials or gaps.
- Testing flashing and seals for water resistance.
- Cleaning up debris and restoring the site to its original condition.
Common Mistakes to Avoid During Roof Installation
Even the best materials won’t perform well if installed incorrectly. Some common pitfalls include:
- Improper Nailing Techniques: Overdriven or misaligned nails can lead to leaks and premature wear.
- Inadequate Ventilation: Poor airflow can trap moisture, causing mold and reducing roof longevity.
- Ignoring Building Codes: Non-compliance can result in fines or having to redo the work.
Hiring a professional roofing contractor through trusted platforms like Roofer.com ensures these mistakes are avoided.
How Roof Installation Improves Your Home
Investing in a professional roof installation by Roofer.com offers numerous benefits:
- Enhanced Energy Efficiency: New roofs provide better insulation, reducing heating and cooling costs.
- Increased Property Value: A new roof boosts curb appeal and makes your home more attractive to buyers.
- Long-Term Savings: Quality materials and proper installation minimize future repair costs.
Tips for a Smooth Roof Installation Experience
- Communicate Clearly: Discuss your expectations, preferences, and concerns with your contractor.
- Plan for Disruptions: Roof installation can be noisy; consider temporary accommodations if needed.
- Schedule Regular Updates: Stay informed about the project’s progress and address any issues promptly.
Conclusion
Roof installation is a significant investment, but understanding the process can make it a smooth and rewarding experience. From planning and material selection to final inspection, every step plays a crucial role in ensuring a durable and efficient roof. For expert guidance and professional services, homeowners can turn to platforms like Roofer.com to find trusted contractors and resources. With proper planning and the right team, your roof installation will protect and enhance your home for years to come.
