Sous Vide Explained
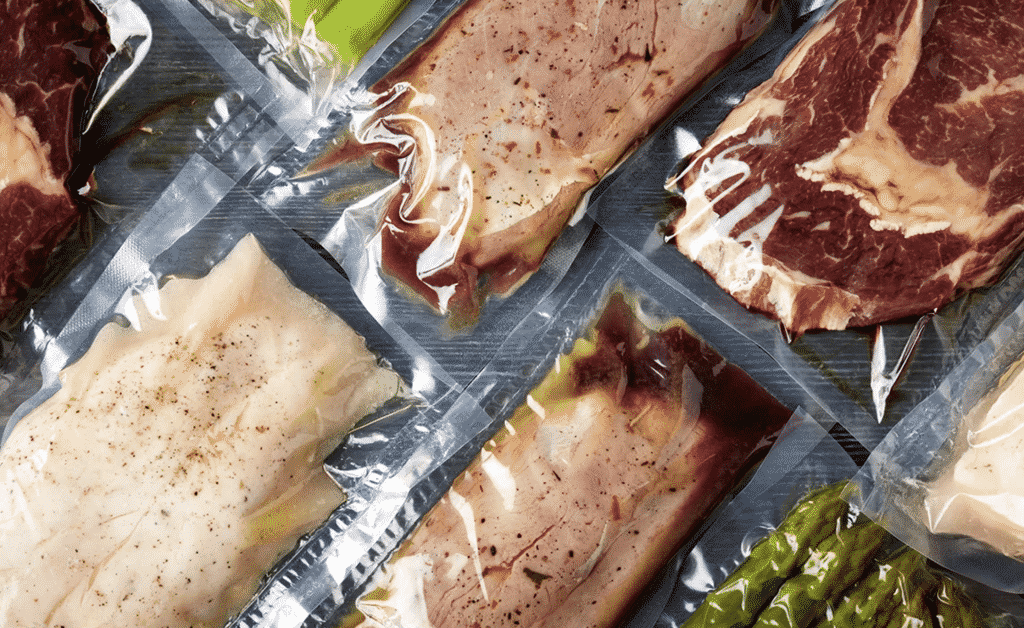
You have probably heard of the term sous vide on your favorite cooking show, or possibly even in a high-end restaurant. Sous vide is an innovative cooking method that is becoming extremely popular in the cooking world today. However, it’s quickly gaining traction for at-home cooking, as well. Pronounced “soo veed”, sous vide is a French term for under vacuum. In simple terms, it’s the cooking process of sealing food into an airtight bag and cooking it at a precise time and temperature in a water bath. The method helps maintain the food’s natural flavors and integrity, so little to no extra work is needed. With this method, there is little preparation needed, because tenderizers, marinades, and seasonings aren’t typically used. The best part? This method works to consistently cook your food the entire way through, eliminating the inconsistencies typically found in traditional cooking methods.
What Food Is Sous Vide Best Used For?
There’s a misconception that the sous vide method should only be used when cooking meats. However, that’s far from the truth. Sous vide can be used to cook just about anything. Some examples from Home Kitchen Talk include:
- Pork chops
- Turkey breast
- Chicken breast
- Eggs
- Seafood
- Yogurt
- Crème fraîche
- Custards
- Cocktails
- Cheese
- Ice Cream
What Goes into The Sous Vide Process?
Although fancy in the name, the sous vide process is relatively simple. The biggest challenge you may face when using this cooking method is ensuring it’s at the amount of doneness desired. Aside from that, ensuring you have the proper equipment is the other crucial element. Equipment typically includes a large pot to submerge the food into as well as plastic or Ziploc-style bags. You must purchase an immersion circulator that helps to heat the water to the desired temperature and circulates that temperature consistently throughout the cooking vessel.
Season the food (if desired)
The first step in the sous vide process is the preparation of the food. As mentioned previously, the sous vide method works to maintain the food’s natural integrity and flavors, so seasonings and other marinades aren’t typically required. However, it is entirely up to you. Any prep work should be done before beginning to cook.
Package the food – Properly seal
Packaging the food is a crucial element of sous vide. As mentioned previously, the name itself means under vacuum, which is where the food must be properly vacuum sealed in the packaging prior to being submerged into the water. Typically, a food-grade vacuum sealing bag is used. During this time, you can also add in any aromatics desired such as rosemary, thyme, or bay leaves.
Many people also purchase a vacuum sealer, although this isn’t required for getting started. This is a great option for those who plan to cook more than just meats, as foods such as vegetables require being cooked at a consistently higher temperature. However, it also is great for food storing, when needed!
If you’d prefer not to purchase a vacuum sealer, that’s perfectly fine as well. In this scenario, it’s recommended to use the water submersion method to help allow the air to escape. With this method, you slowly lower the bag into the pot of water. The water adds pressure and helps to displace the air that wasn’t able to be pressed out. From there, you will seal the bag and fully submerge it into the cooking vessel.
Set the desired temperature and cook time
The temperature and cook time are two other critical factors when it comes to cooking sous vide. If you purchase an immersion circulator, you can simply set the desired time and temperature on the device based on what you’re cooking. However, if you aren’t, you can typically find the desired temperature and cook time through a quick internet search. Once the water has reached its desired temperature, you will use a binder clip or clothespin to secure the bag is fully submerged by securing to the edge of the pot. If you submerge with the seal side up, it helps to add a little more assurance that the seal will remain tightly closed while cooking.
Allow resting for 20 minutes
Once you have finished cooking, you typically want to take the bag out and let it rest for about 20 minutes. This helps to provide the food a chance to absorb any of the juices or flavors remaining in the bag.
Sear (if desired)
Once the 20 minutes have passed, you can either serve the food as is, or sear it for a little more flavor. Although the food, especially meat, will be extremely flavorful, it will lack the sear or char typically associated with cooking on a grill or cast-iron skillet. If you plan to sear your meat, however, it’s best to remove the food slightly prematurely from the cooking vessel, as it will finish cooking while in the skillet or on the grill. Last but not least, the food is ready to serve!
Give the sous vide cooking method a try. Who knows, it may become your new personal favorite!
