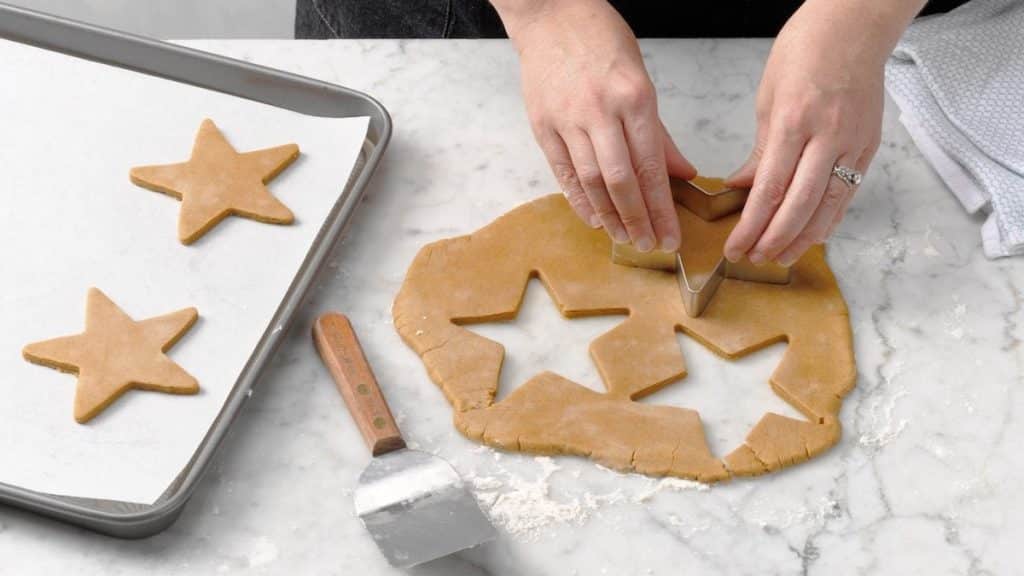
Cookie cutters are a fun and creative tool that can take your baking to the next level. Whether you’re making sugar cookies for the holidays, gingerbread cookies for a special occasion, or just want to impress your friends and family with cute, shaped treats, using cookie cutters can turn an ordinary baking day into something extraordinary.
However, mastering the art of using cookie cutters can sometimes be tricky, especially if your dough sticks, spreads too much, or the shapes don’t come out as planned.
To help you achieve perfect results every time, here are some valuable tips for using cookie cutters effectively.
1. Choose the Right Dough
The type of dough you use plays a crucial role in how well your cookies hold their shape. For intricate cookie cutter designs, opt for a dough that’s sturdy and won’t spread too much when baked. Sugar cookie dough, gingerbread dough, or shortbread dough are great choices because they retain their shape well after baking.
Avoid doughs with high fat or liquid content, such as those used for soft cookies or drop cookies, as these tend to spread and lose their defined edges. Also, some cookie doughs may need to be chilled before cutting to make them easier to work with and maintain their form.
2. Chill the Dough Before Cutting
One of the most important steps in ensuring clean, sharp edges with your cookie cutter is to chill the dough thoroughly before cutting. This helps prevent the dough from sticking to the cutters and keeps the shapes intact during the cutting process.
- Refrigerate the Dough: Once your dough is prepared, wrap it in plastic wrap and refrigerate it for at least 30 minutes to an hour. For best results, allow it to chill longer if the dough is particularly soft.
- Chill After Cutting: After cutting out your cookies, you can place them on a baking sheet and refrigerate them again for 10-15 minutes before baking. This helps solidify the dough further and reduces the likelihood of spreading in the oven.
3. Flour Your Work Surface and Cutters
Preventing the dough from sticking to your work surface or cookie cutters is crucial to maintaining well-defined shapes. Lightly dusting your work area and cookie cutters with flour can make the process smoother.
- Use Minimal Flour: While it’s important to flour your surface, avoid using too much as this can dry out the dough. A light dusting of flour on your rolling pin, counter, and cutters will suffice.
- Dip the Cookie Cutters: Before using a cookie cutter, dip the edge in flour. This will create a barrier between the dough and cutter, making it easier to lift the cookies out and maintain their shape.
4. Roll Dough Evenly
Evenly rolled dough ensures uniform baking and consistent cookie shapes. When rolling out your dough, aim for an even thickness to avoid uneven baking. Some cookies might burn while others remain undercooked if the dough isn’t rolled out uniformly.
- Rolling Pin Guides: Use rolling pin guides or rubber bands around your rolling pin to maintain even thickness. This will help you avoid creating cookies that are too thick or too thin in certain areas.
- Ideal Thickness: A good general rule is to roll the dough to about ¼ inch thickness. This provides a sturdy enough base for the cookie cutters to create clean shapes and ensures the cookies bake evenly.
5. Press Firmly and Lift Carefully
When using cookie cutters, it’s essential to press them into the dough firmly and evenly to ensure clean cuts. If you press too lightly, the edges may be jagged, or the shape won’t come out clean.
- Straight Down Pressure: Press the cutter straight down into the dough without twisting or wiggling. Twisting can cause the dough to drag and distort the shape.
- Lift Carefully: After pressing down, gently lift the cutter, and if needed, use a small spatula or your finger to push the dough out of the cutter without losing the shape.
6. Work with Small Batches
To maintain the quality of your dough and keep it from becoming too warm or sticky, work with small batches at a time. Roll out a portion of the dough while keeping the rest chilled in the refrigerator. This prevents the dough from softening too quickly and sticking to the cutters.
7. Line Your Baking Sheet
Using parchment paper or a silicone baking mat on your baking sheet helps cookies bake evenly and prevents them from sticking. Plus, it makes cleanup much easier.
- Transfer with Care: After cutting out your shapes, transfer the cookies to the lined baking sheet using a thin spatula to avoid stretching or distorting the shape.
8. Test Bake a Few Cookies
Before cutting out and baking an entire batch, it’s helpful to test bake a few cookies to see how your dough performs. If the cookies spread too much, you can adjust the dough by adding a little more flour or chilling it longer.
- Adjust Accordingly: Test baking also allows you to fine-tune the temperature and baking time for optimal results. Keep an eye on the test cookies to see if they hold their shape and bake evenly.
9. Proper Storage of Cutters
Lastly, proper storage of your cookie cutters helps prolong their life and keeps them in good condition. After using and cleaning them, ensure they’re completely dry before storing to prevent rust or deterioration, especially for metal cutters.
- Organize by Shape: Keep your cookie cutters organized by shape or theme in labeled containers to make it easier to find the right ones for your next baking project.
Use Cookie Cutters
Using cookie cutters can transform simple baking into a delightful and creative activity, producing beautifully shaped cookies that are perfect for any occasion. By choosing the right dough, chilling it properly, and using the right techniques, you can ensure your cookie cutter creations turn out crisp and clean every time.
